Navigation Tool
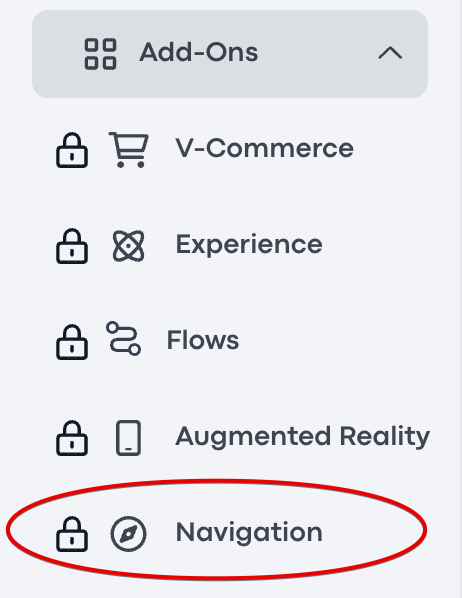
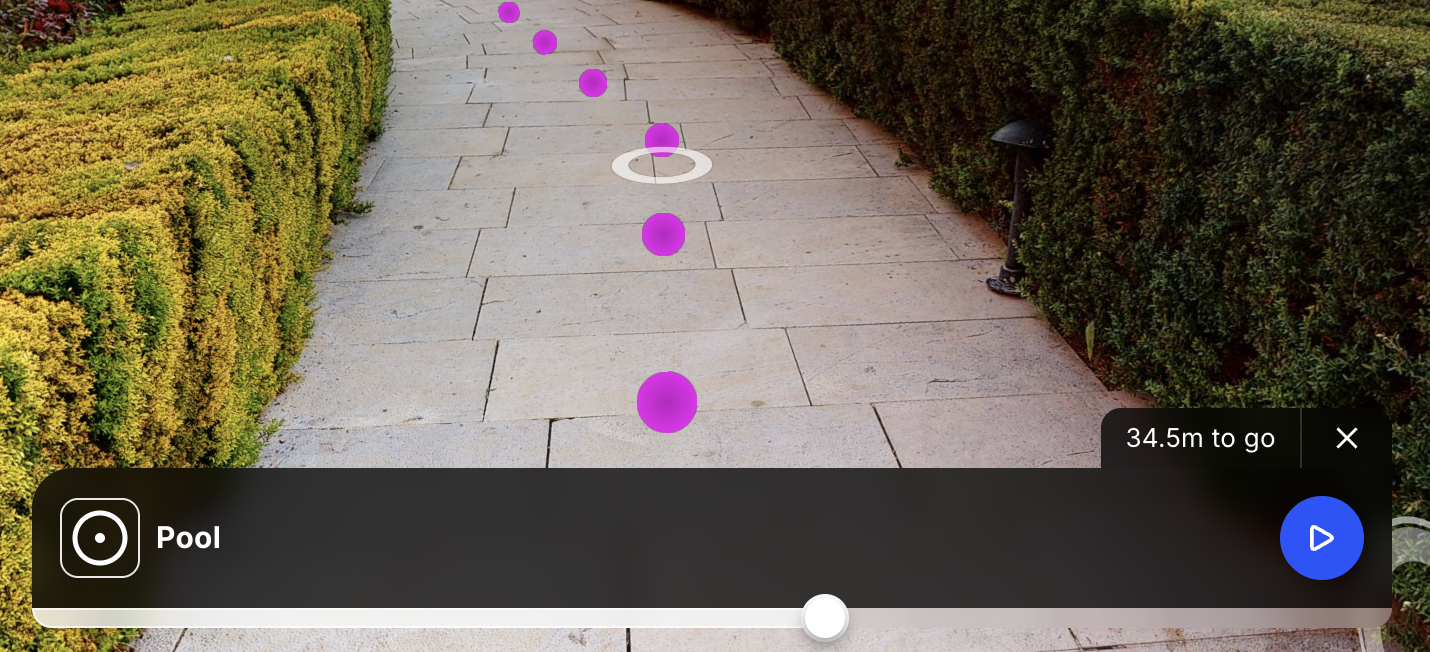
The Navigation Tool turns a Treedis tour into a wayfinding experience. Visitors pick a destination from a menu and the tour walks them there — visually on the web, and via augmented reality on a phone walking through the real space.
Plan availability. The Navigation Tool is included on the Business and Enterprise plans.
What you can do with it
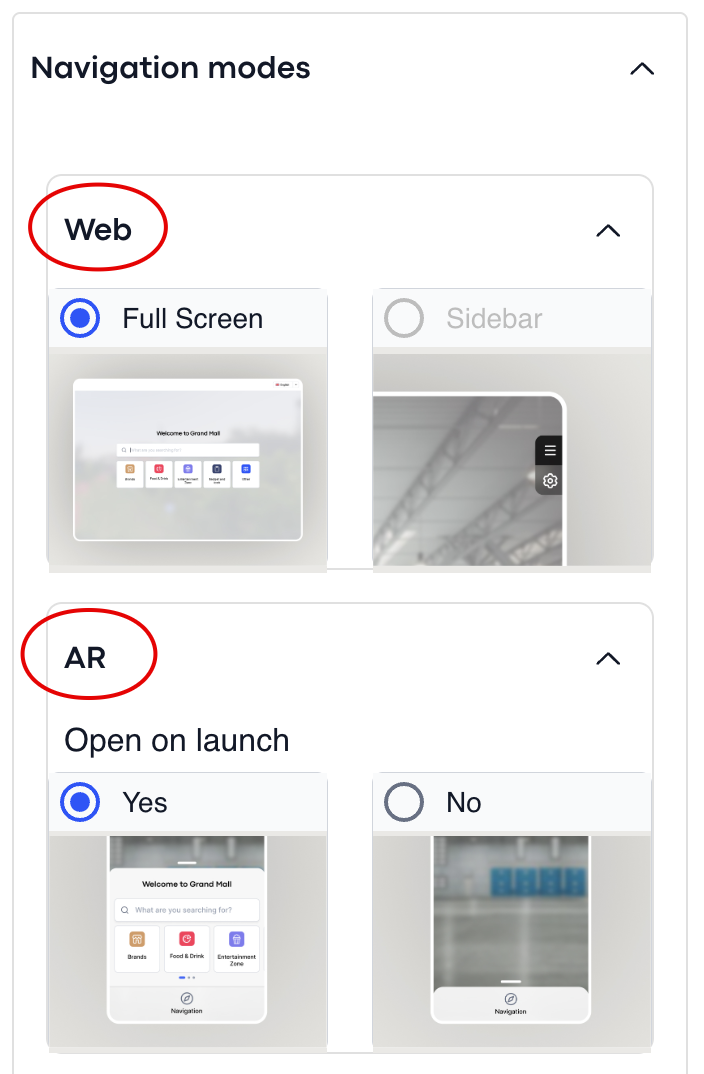
Navigation has two modes that can be enabled independently:
- WEB — Remote visitors moving through the virtual tour follow an optimized path between two points. Useful for previewing routes, planning visits, or letting a customer "walk" your space from home.
- AR — On-site visitors point a phone camera at the space and an AR overlay guides them to the destination. Useful for hospitals, malls, campuses, expos, and large facilities where signage isn't enough.
Most projects enable both.
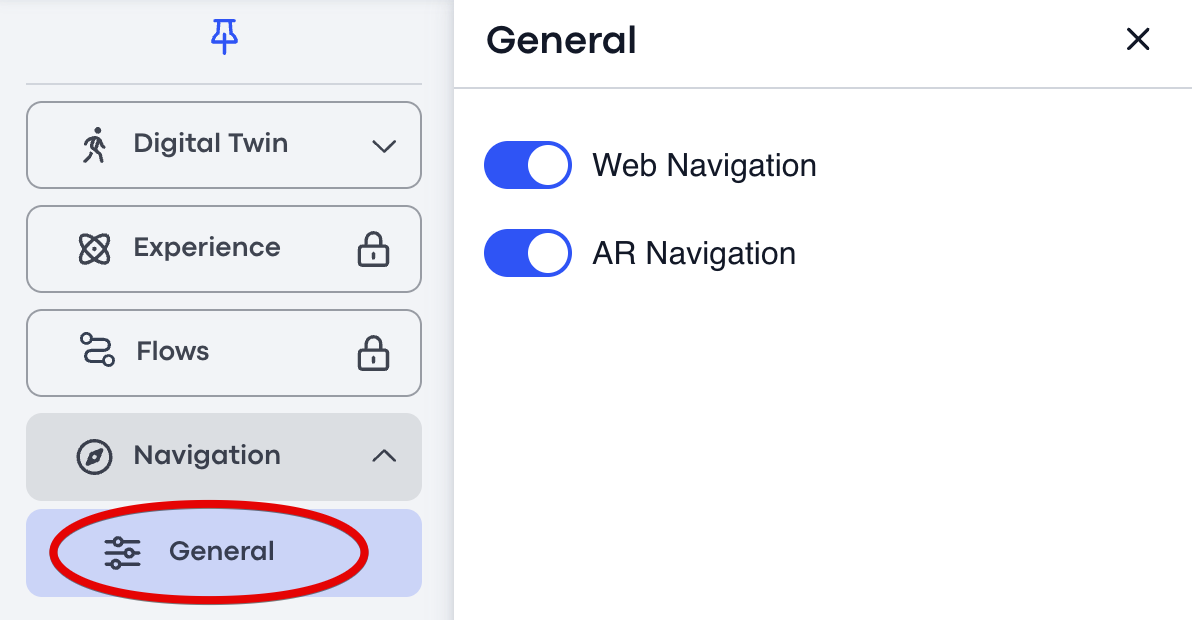
Heads up. Enabling WEB navigation will disable a few other tour features that conflict with the navigation viewport. The editor warns you before applying.
The Path Editor
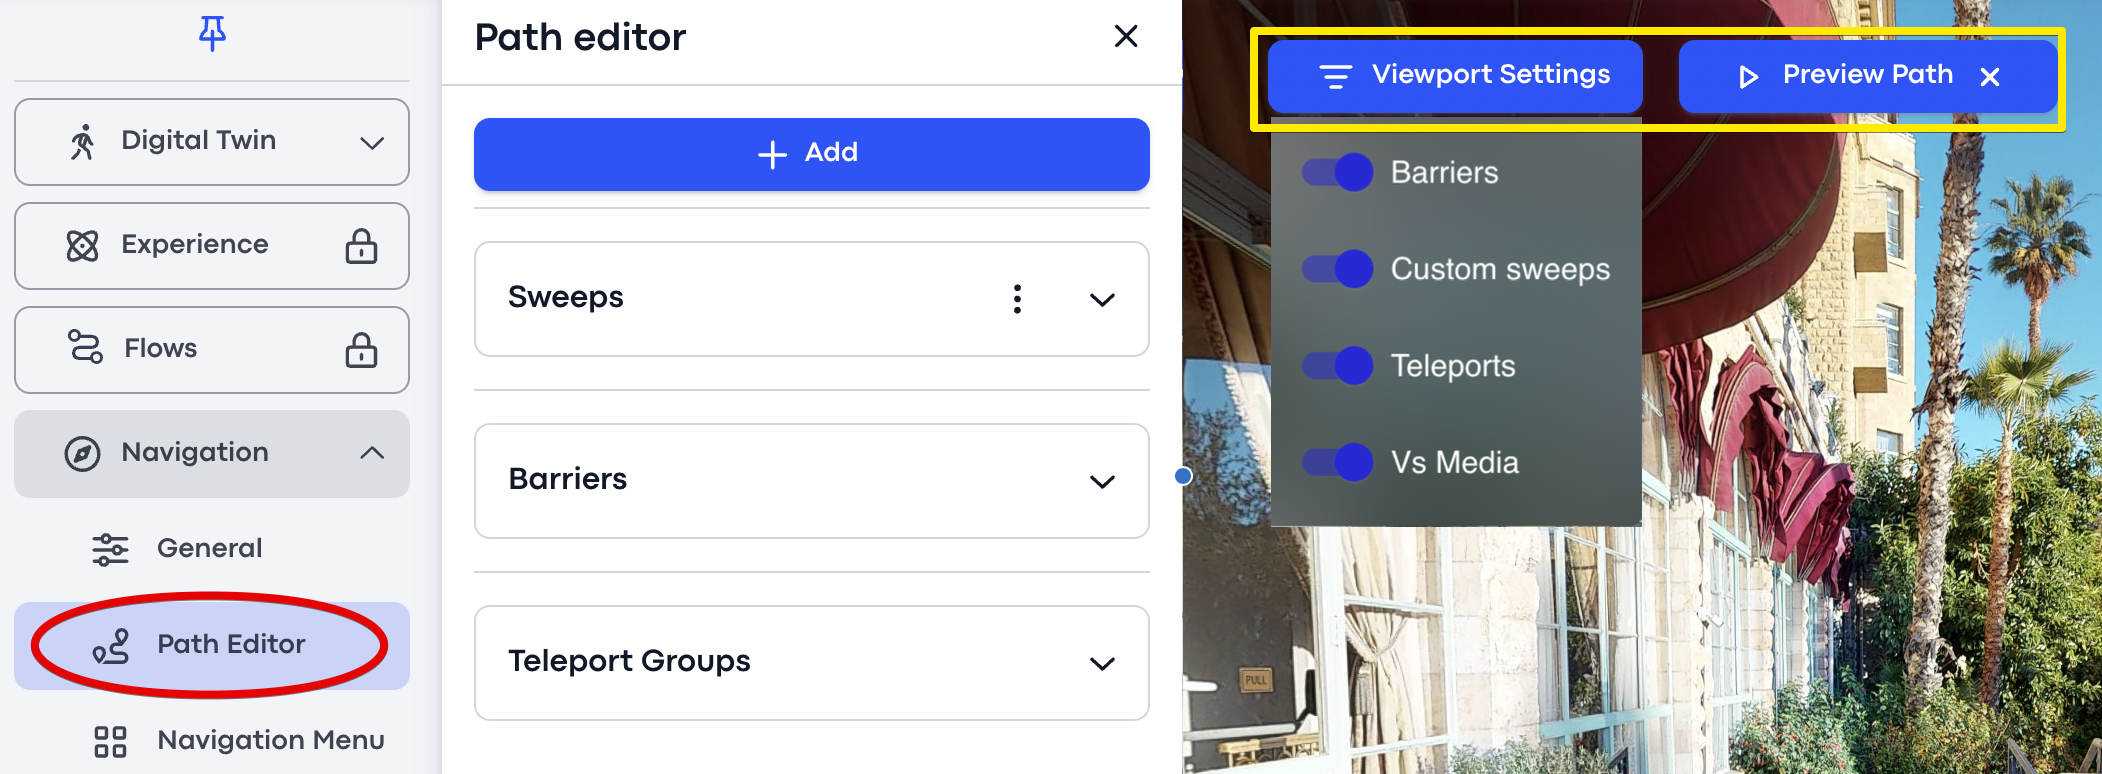
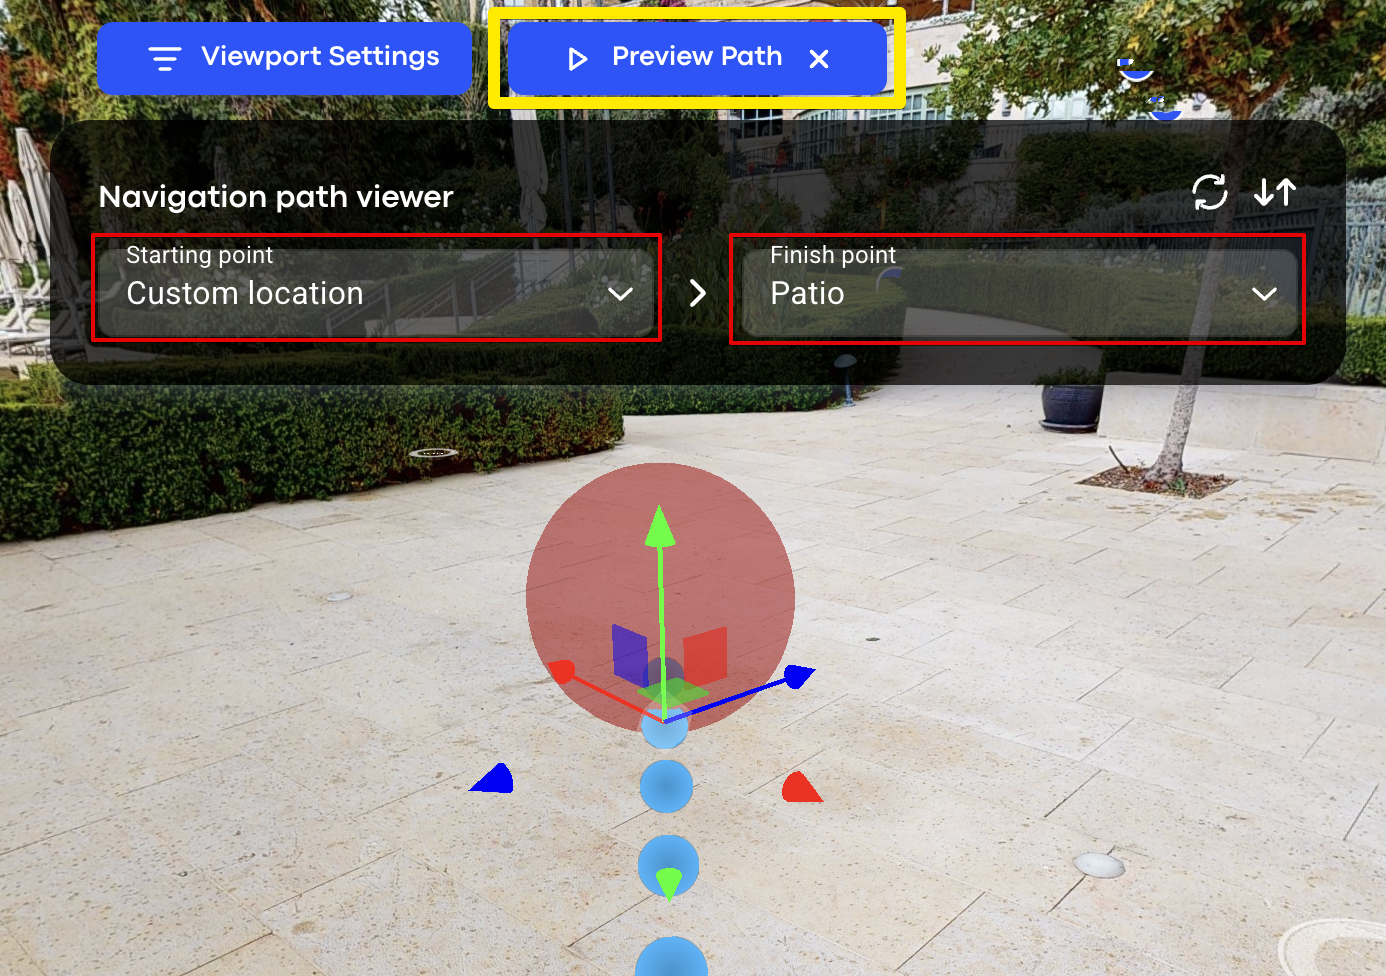
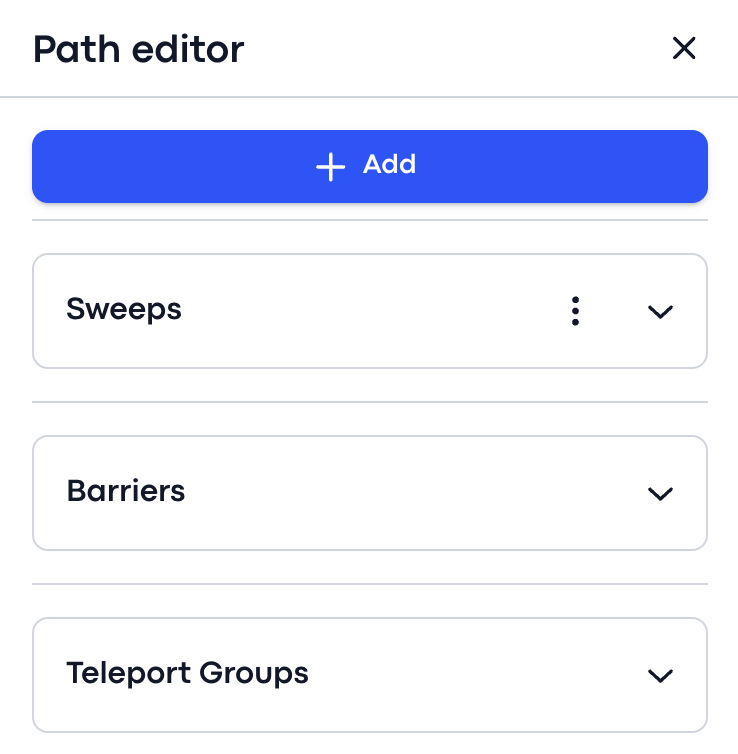
The Path Editor is your workspace for shaping the routes themselves. It gives you a top-down view of the space, a live preview of the calculated path, and the four building blocks below: Sweeps, Barriers, Teleports, and (on the menu side) Menu Items.
Sweeps
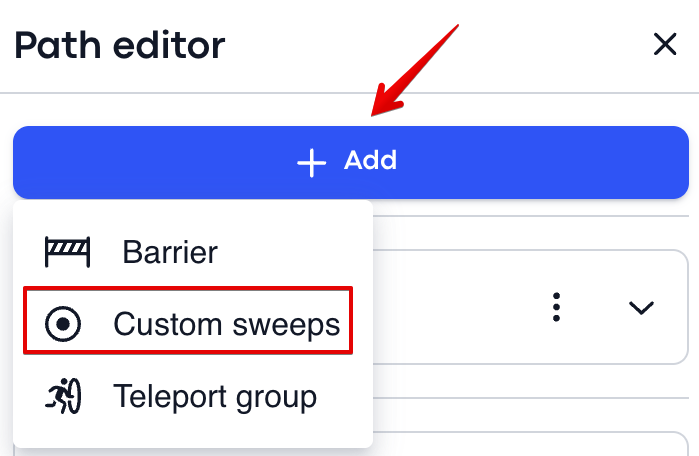
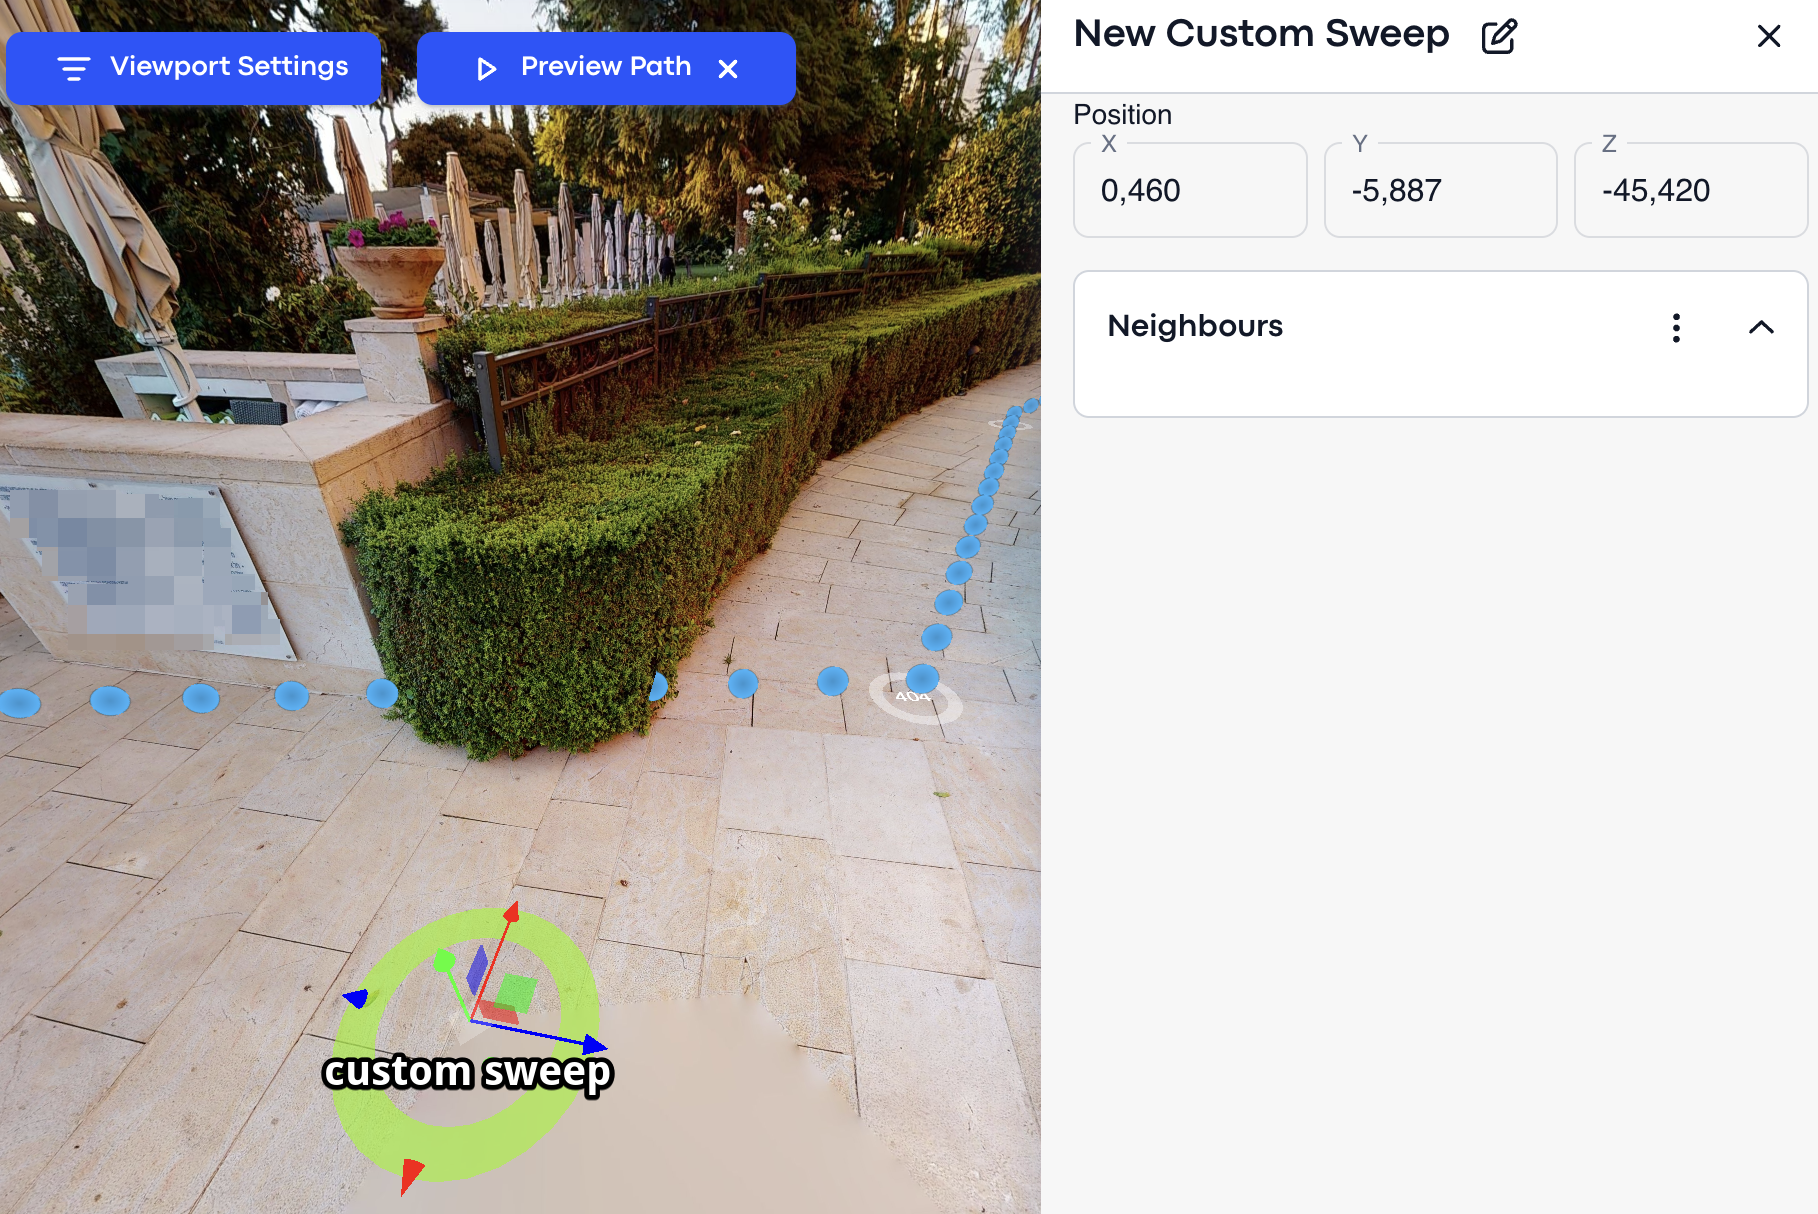
Sweeps are the navigation points the path can pass through. Treedis seeds them from your tour's scan positions; you can add custom sweeps, edit their connections, or remove them when they create dead-ends.
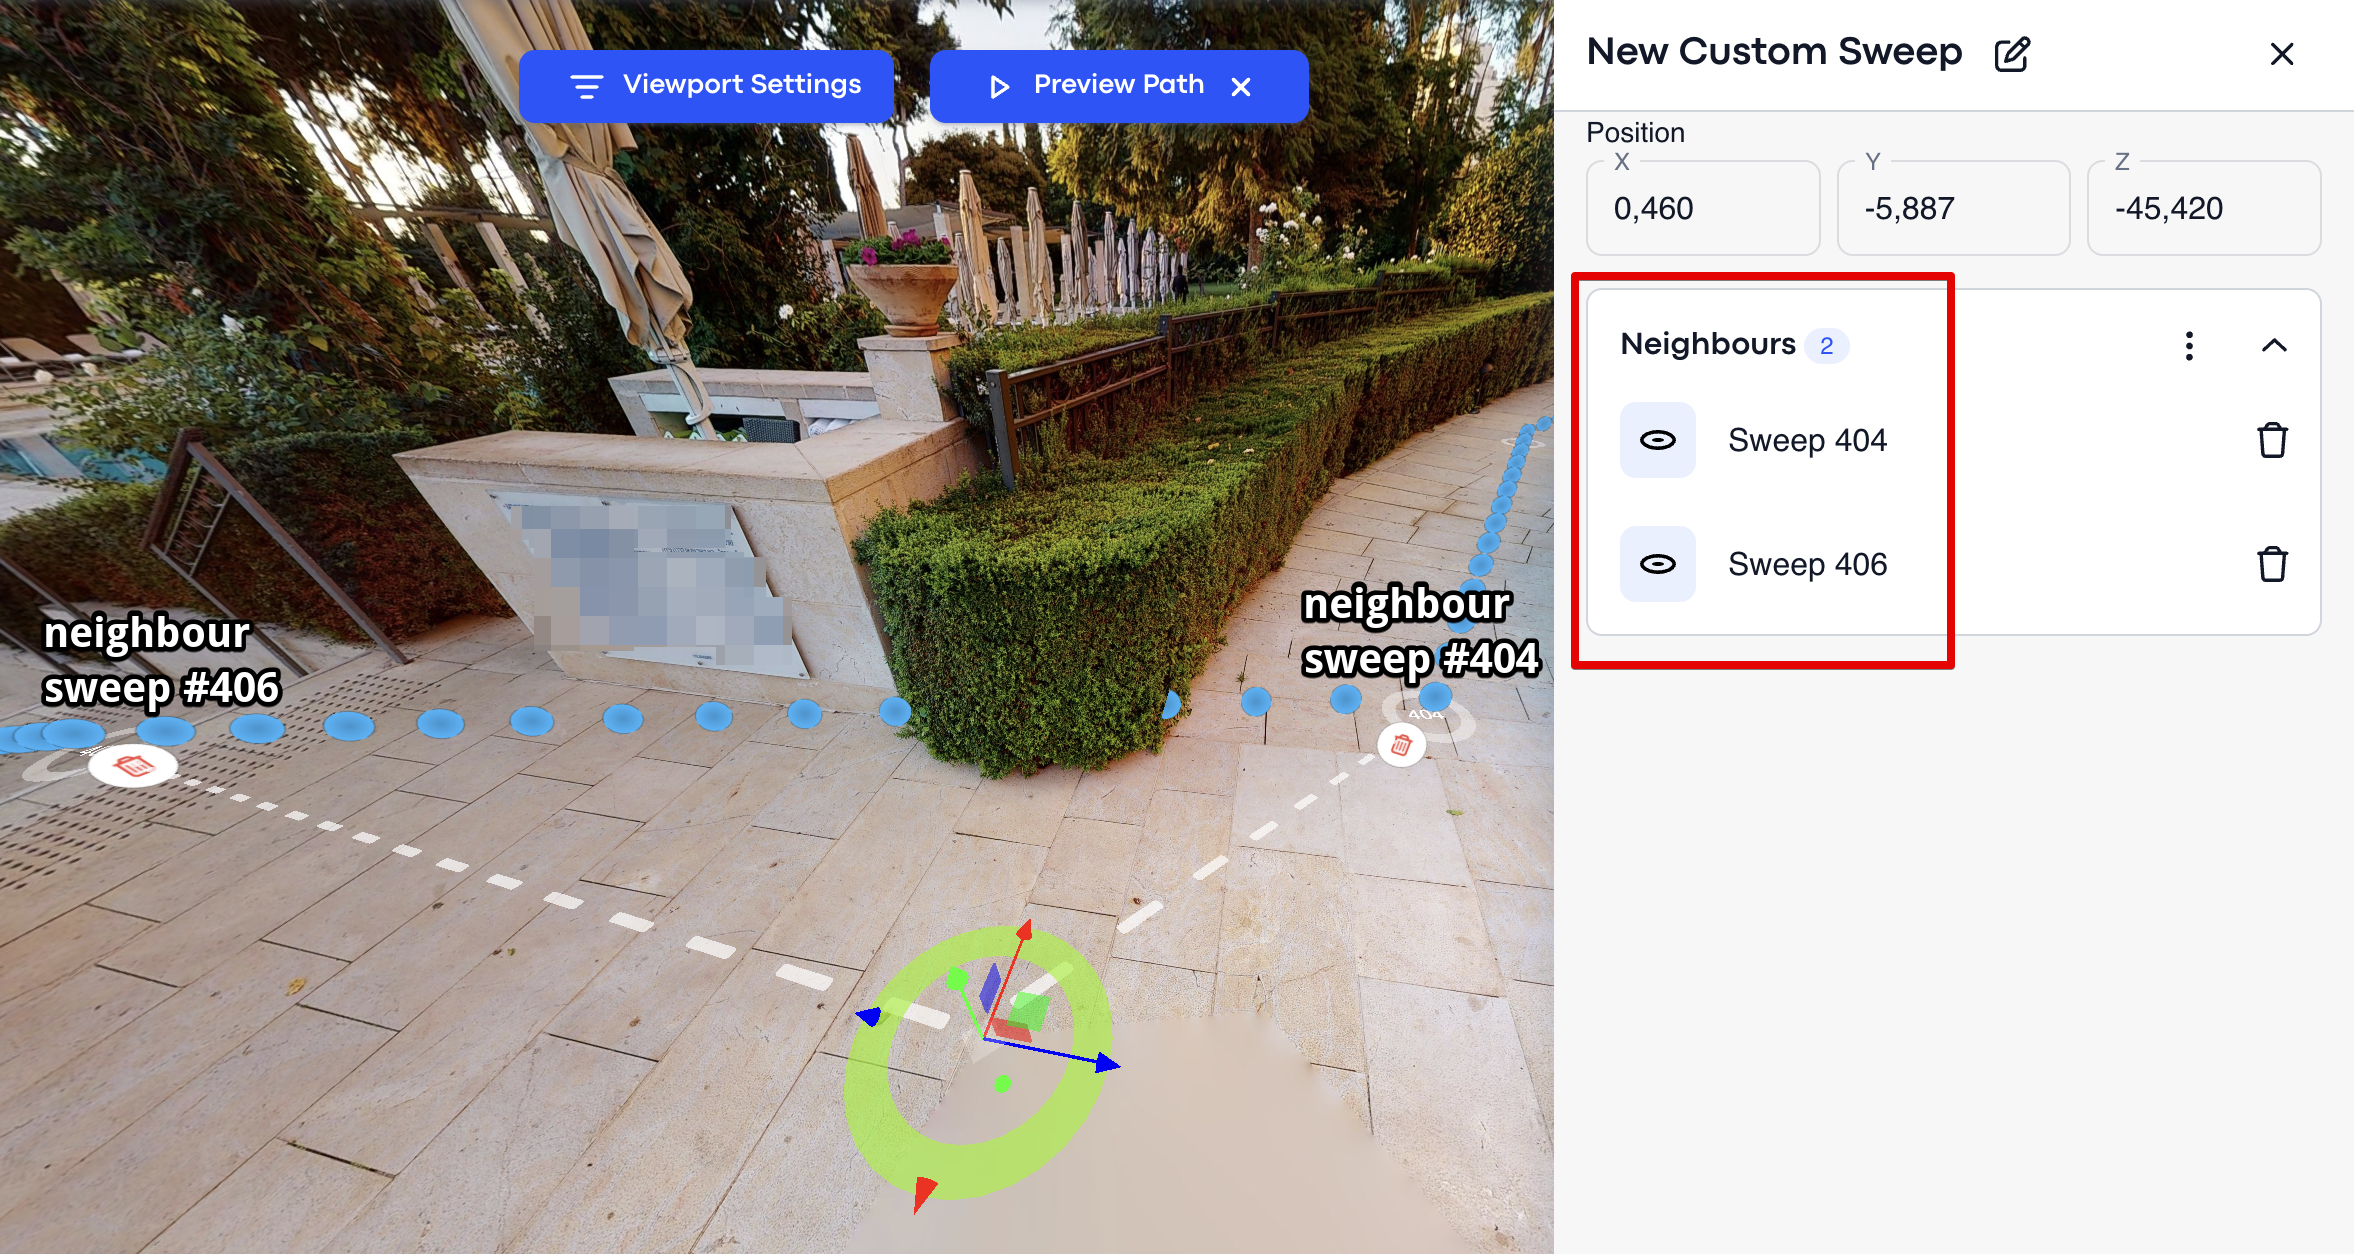
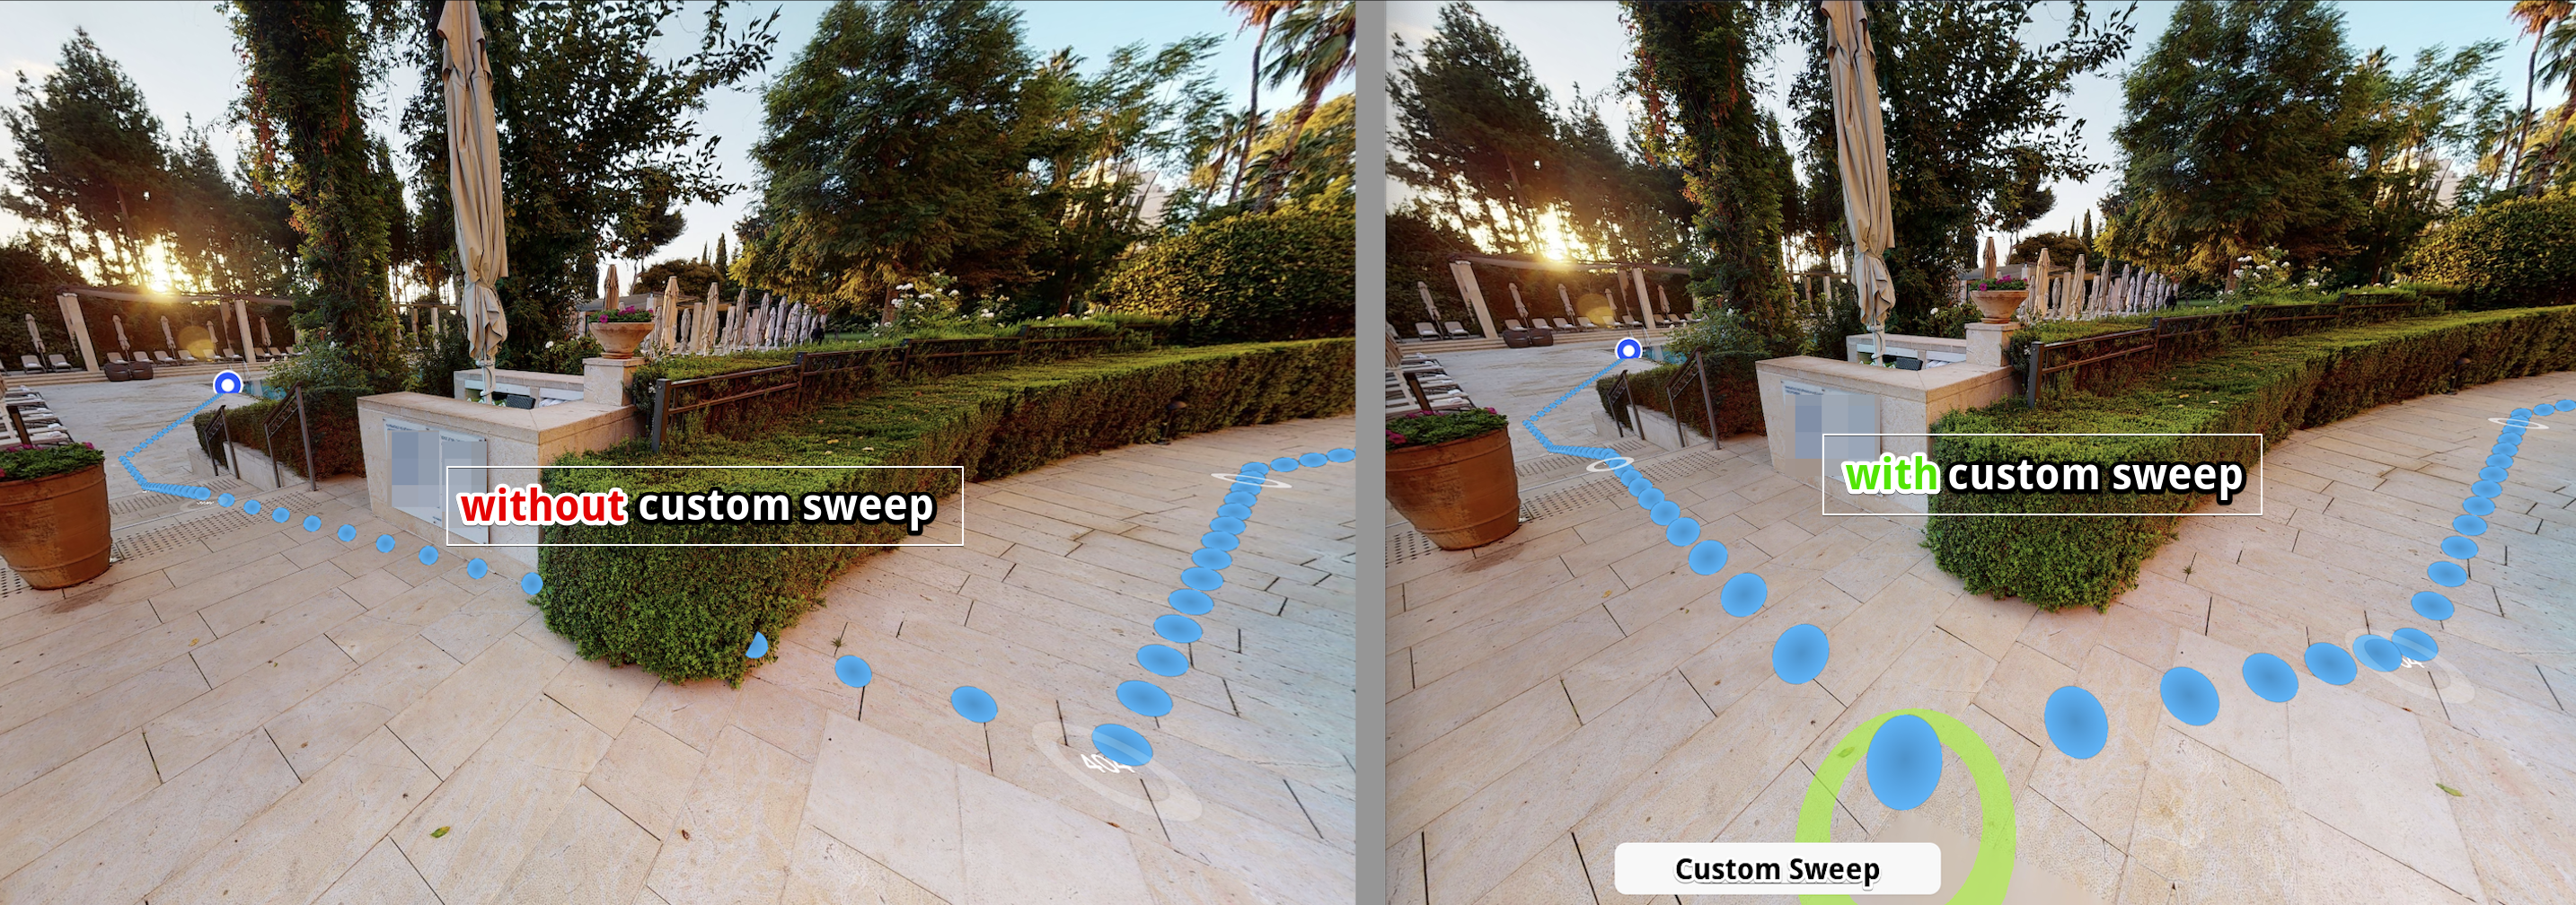
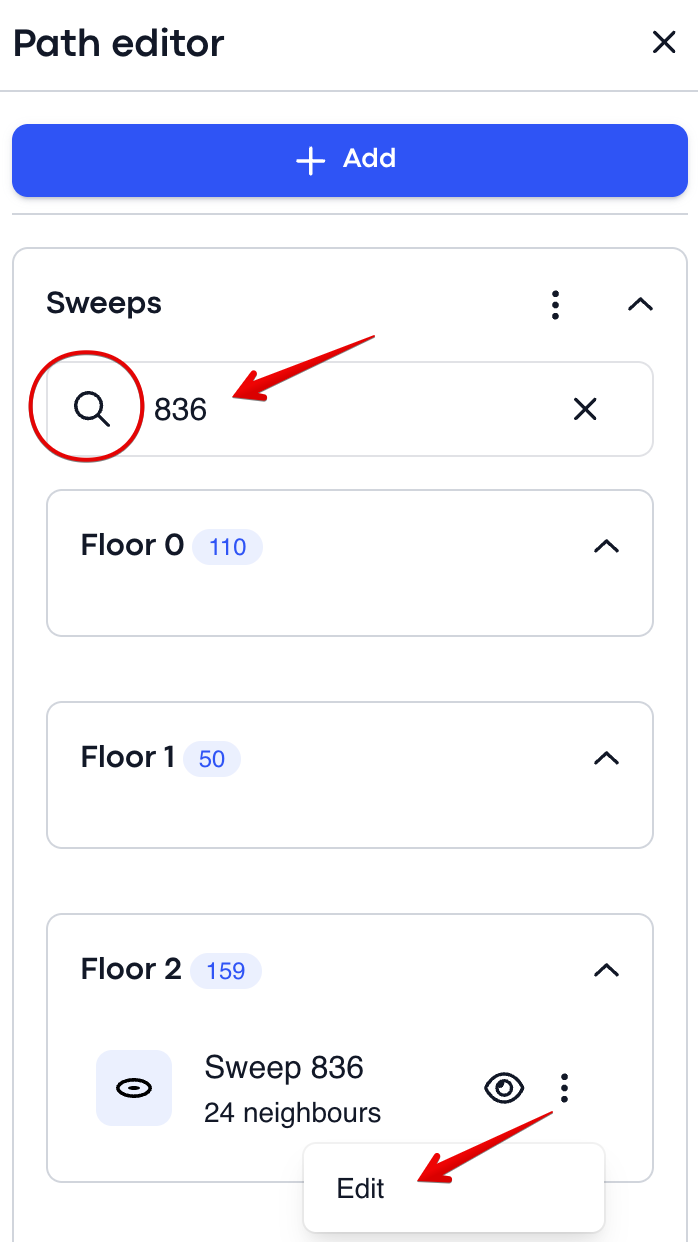
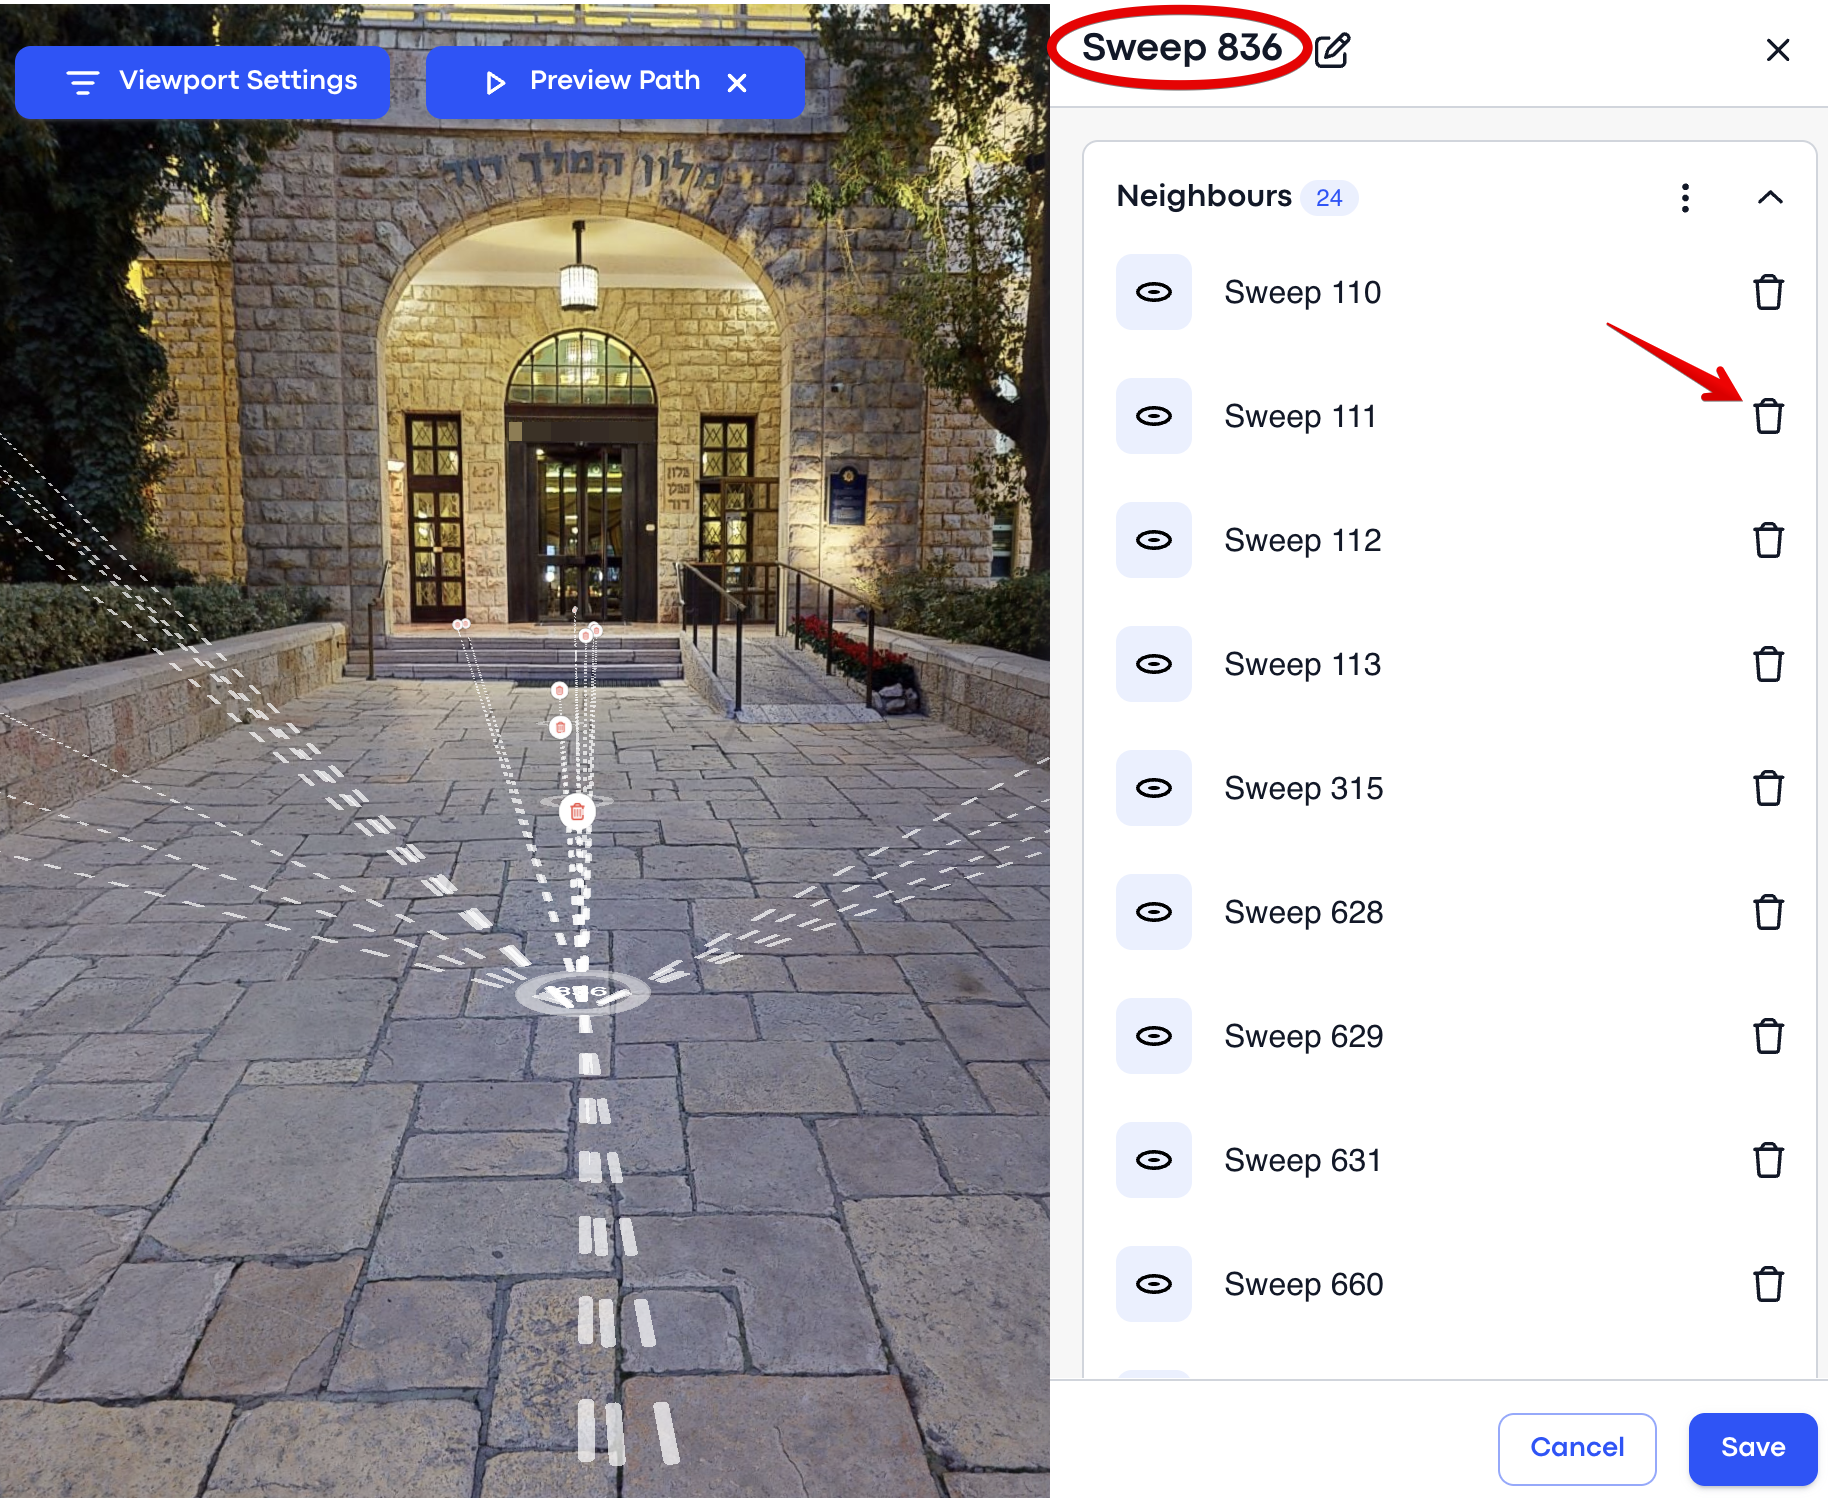
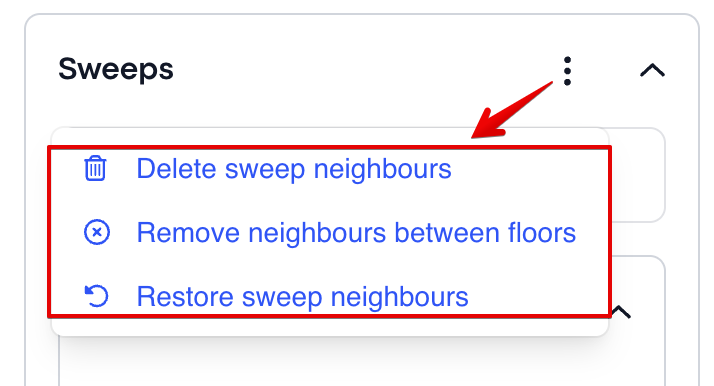
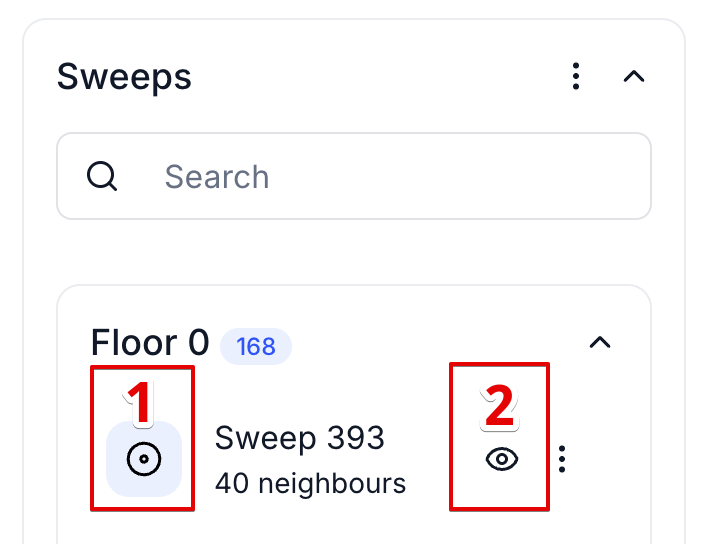
Tip. A sweep with too few connections becomes an island and paths will skip it. If you notice routes routing strangely, check the sweep's connections first.
Barriers
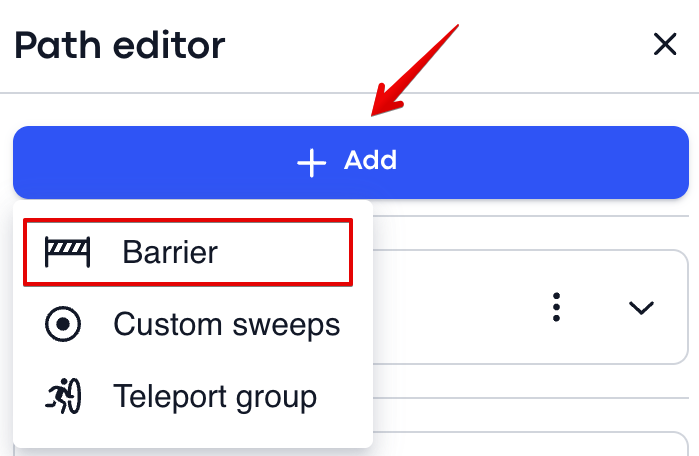
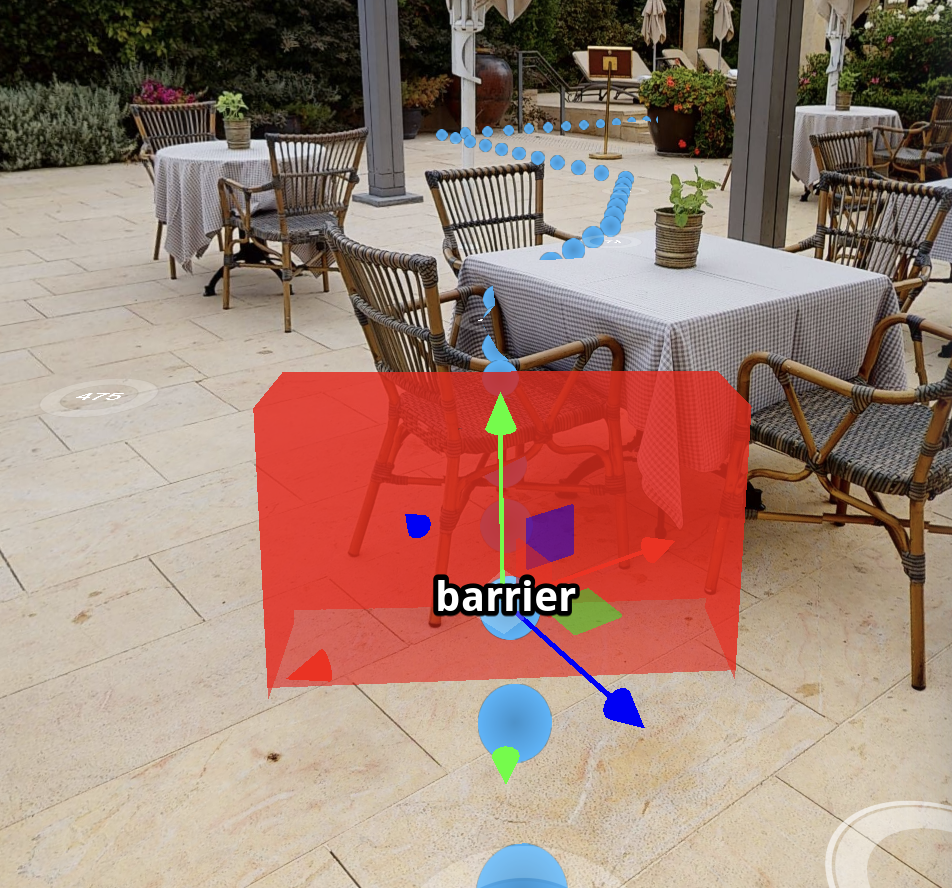
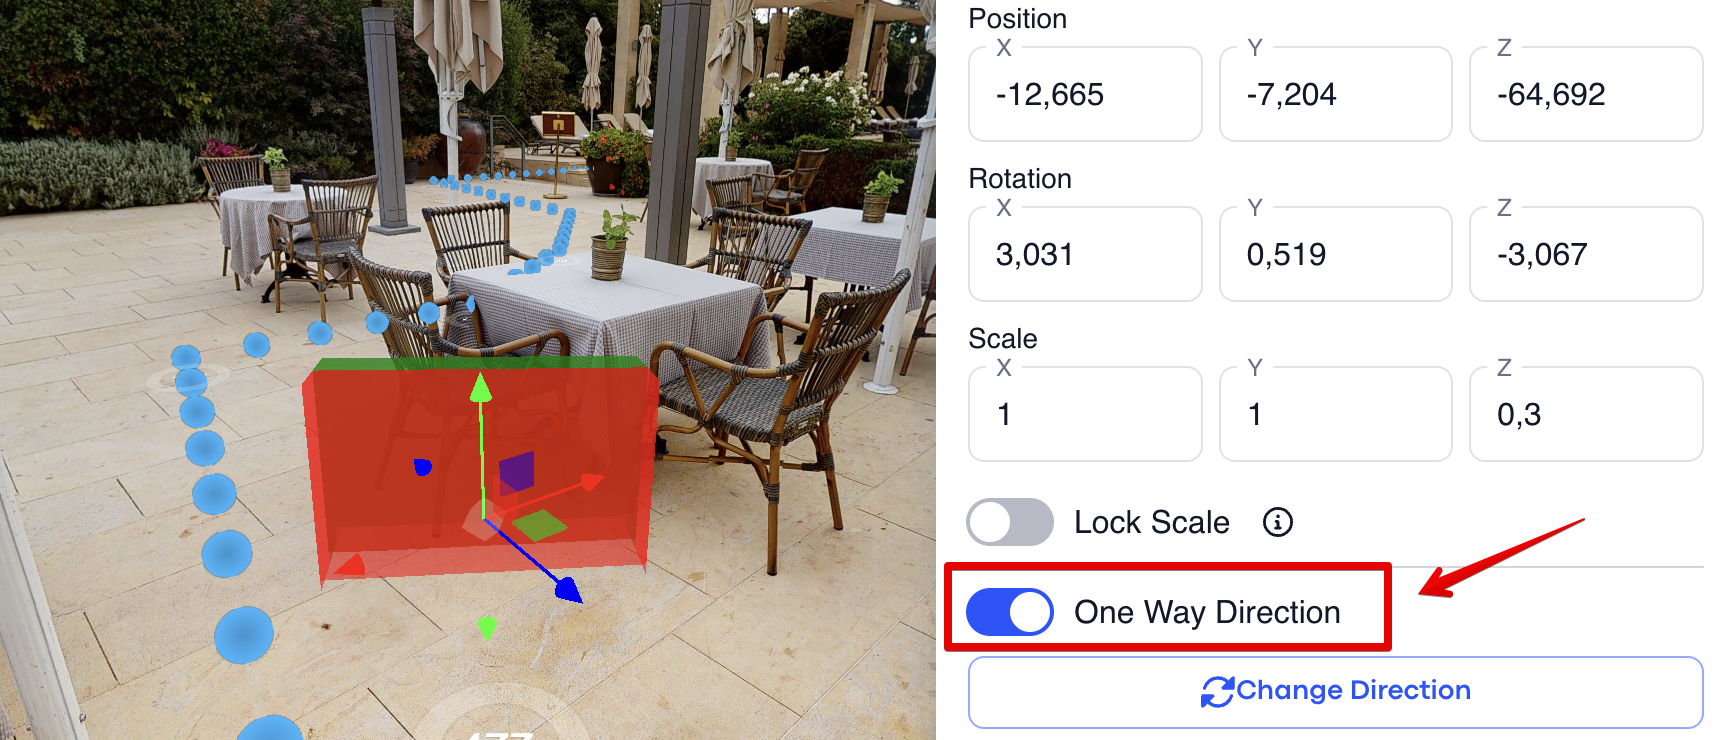
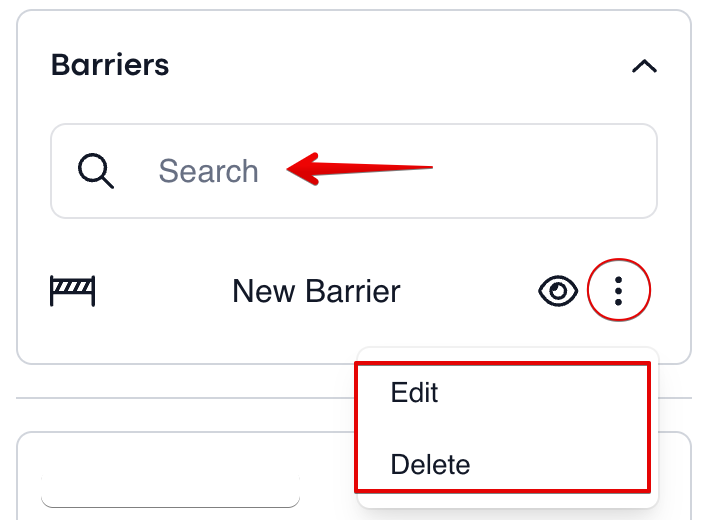
Barriers are polygons you draw on the floor plan to block the path from crossing certain areas — locked rooms, off-limits zones, staff-only corridors. You can also make a barrier one-directional, which is useful for emergency-exit-only routes or "enter here, exit there" patterns.
Teleports
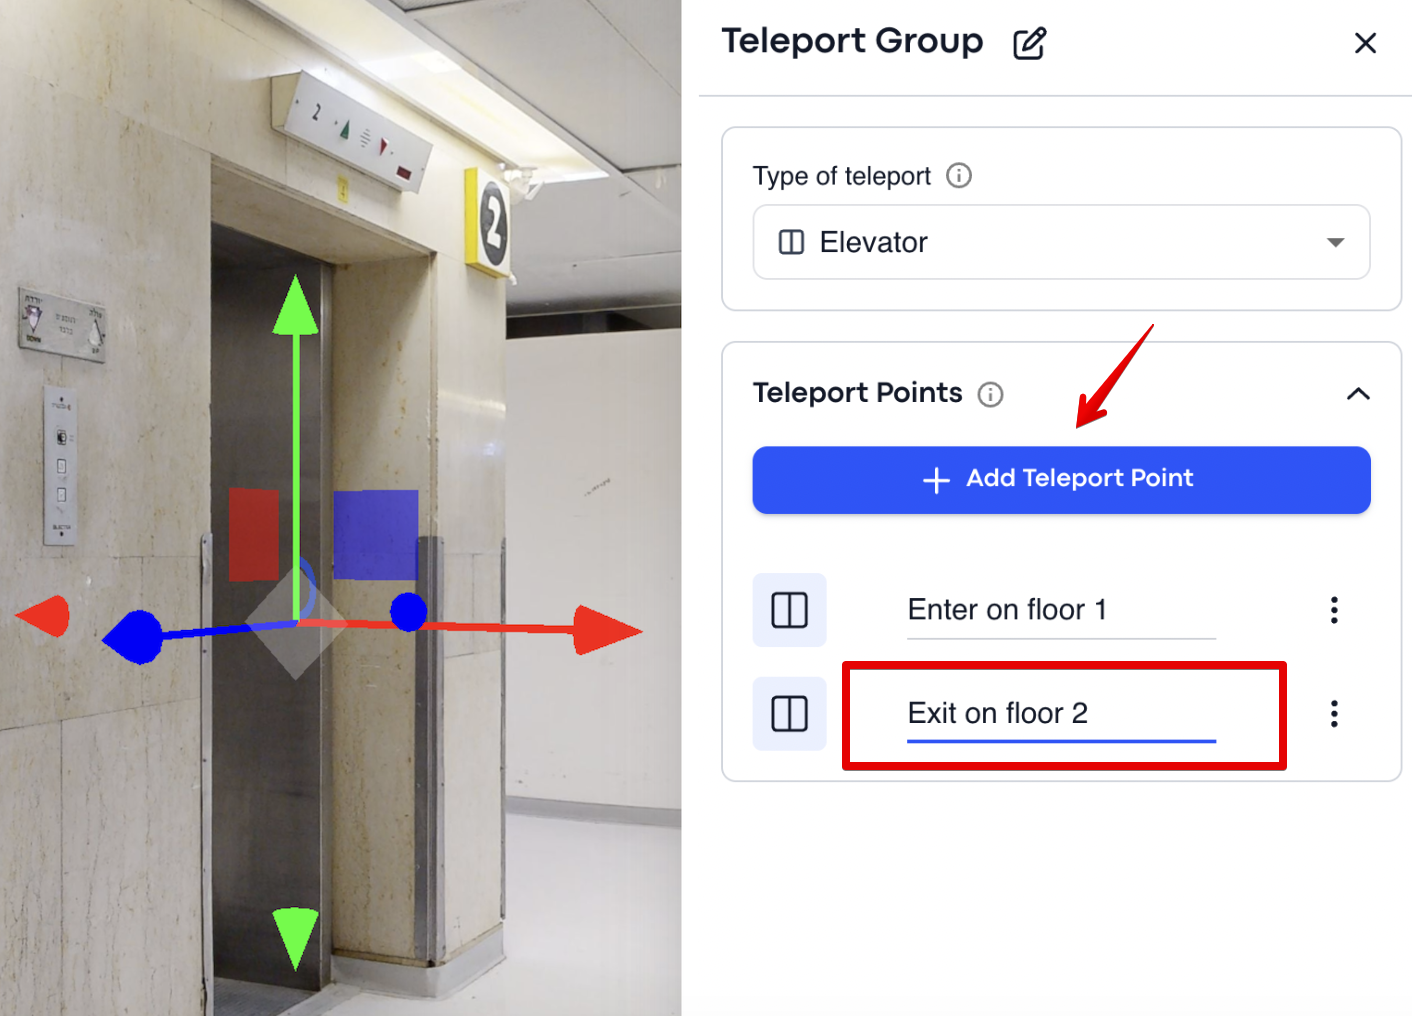
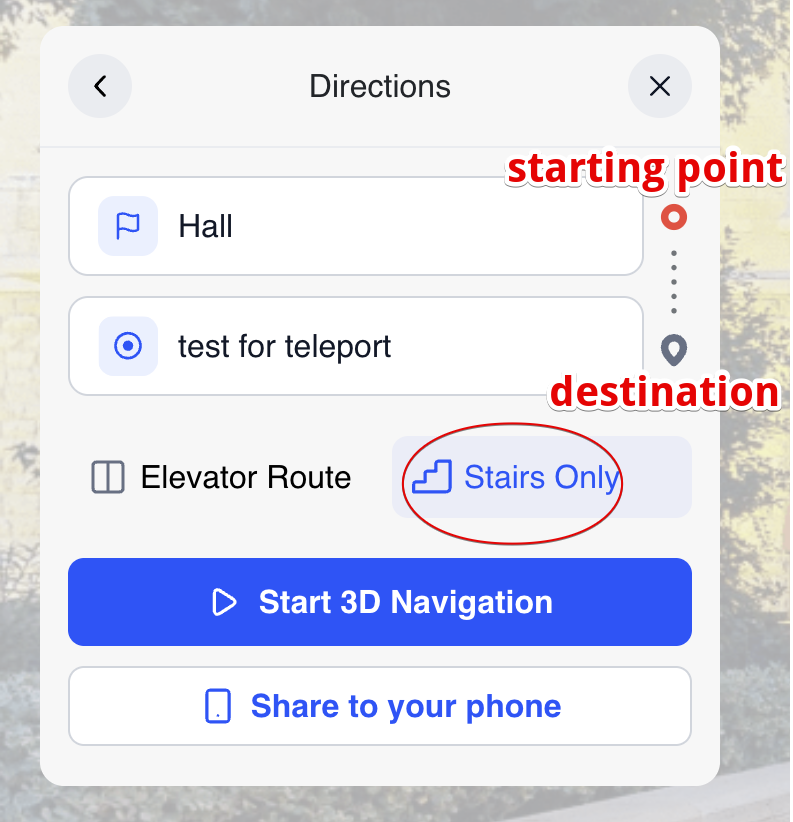
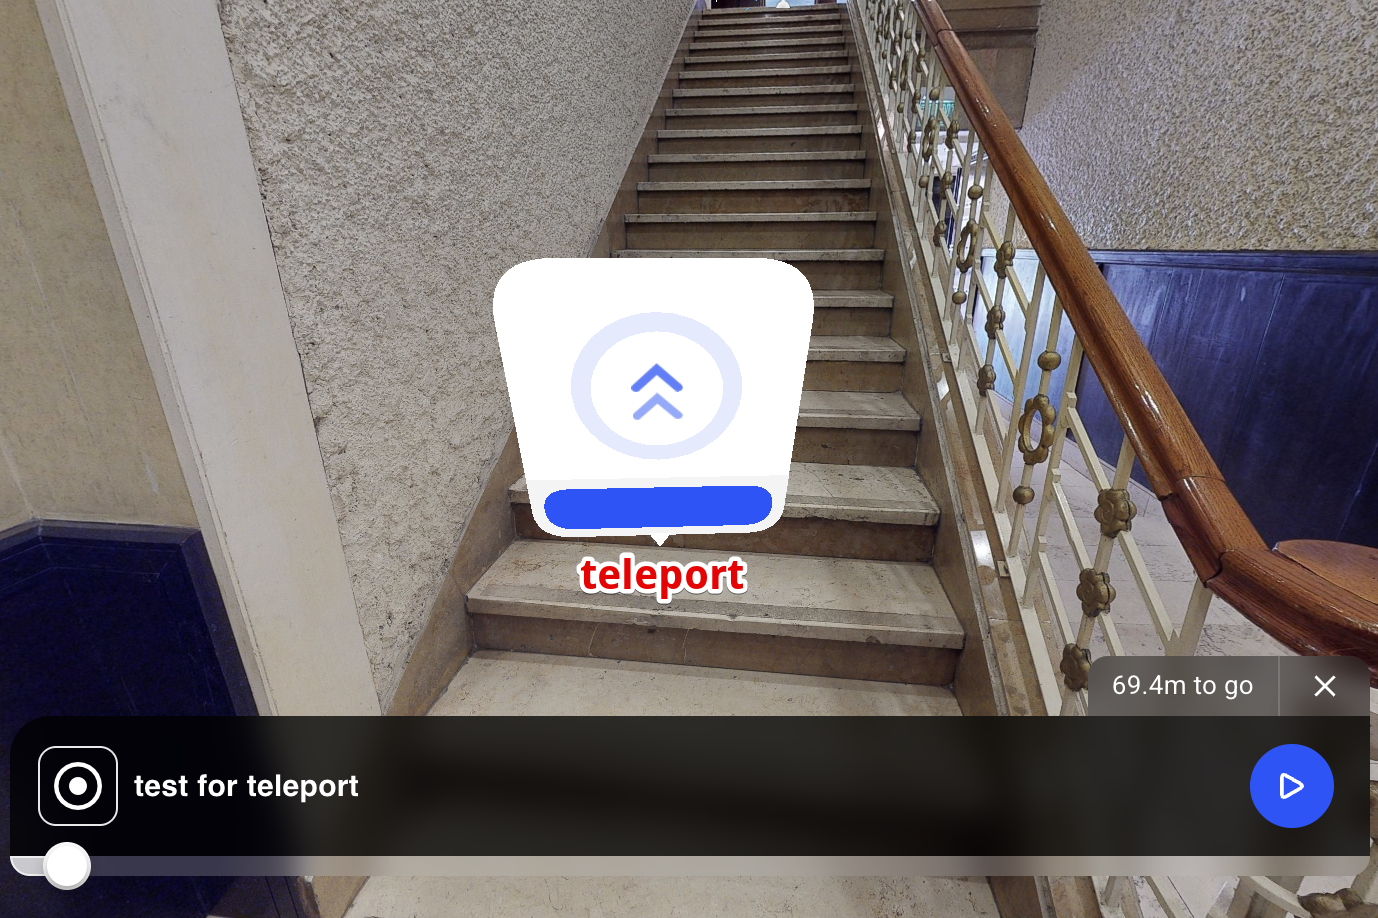
Teleports connect floors. Use them for stairways and elevators so that routing can move a visitor from, say, the lobby on floor 1 to a meeting room on floor 3.
A teleport is conceptually a group — every floor that the same elevator or staircase touches needs its own teleport point assigned to the same group.
Setting up a teleport group
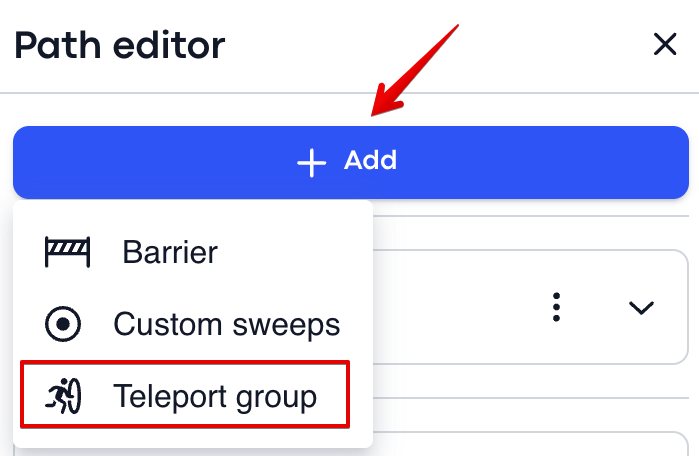
In the Path Editor, open Teleports and click + Add.
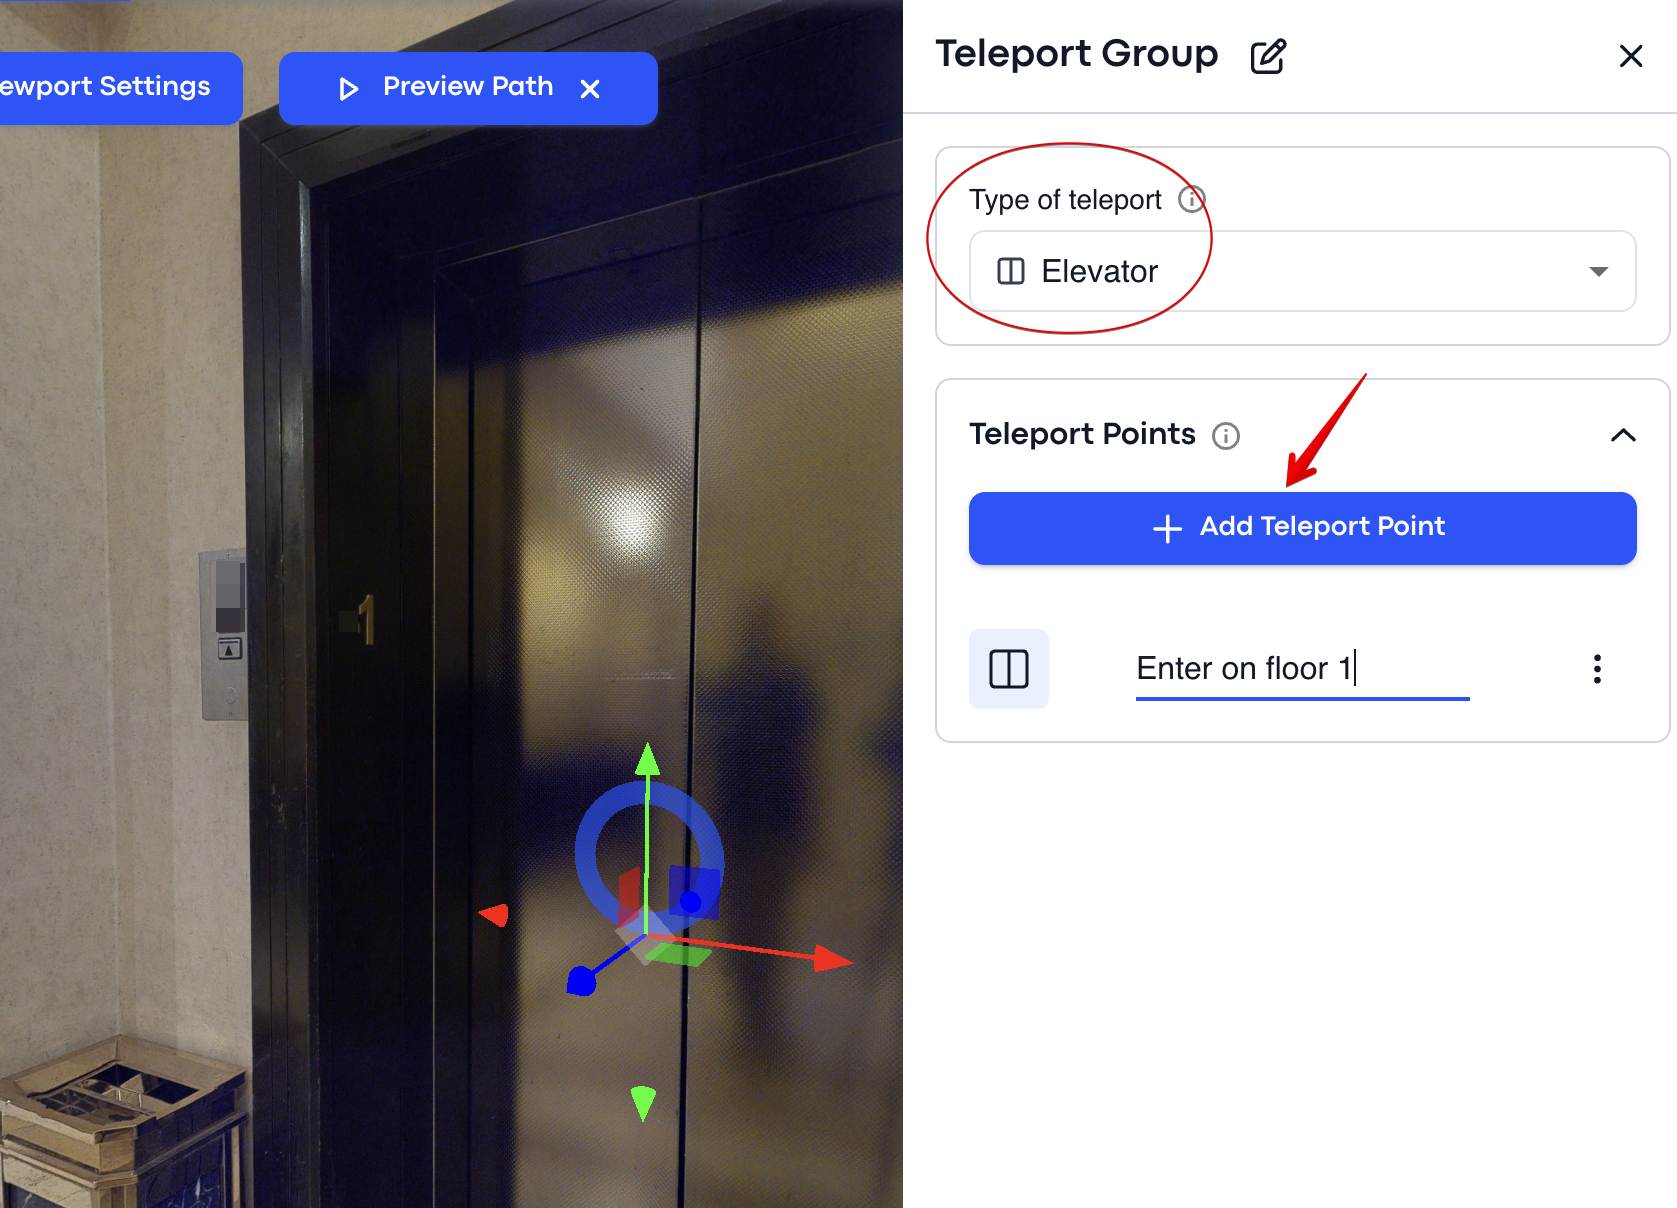
Select an existing teleport group (if this is, say, the second floor of the same elevator) or create a new one.
Stairway or Elevator. The choice affects how the path is described to visitors.
Click in the tour to drop the point at the entry to the stairwell or elevator on this floor.
A clear name like "South Elevator" or "Main Staircase" helps when you have many.
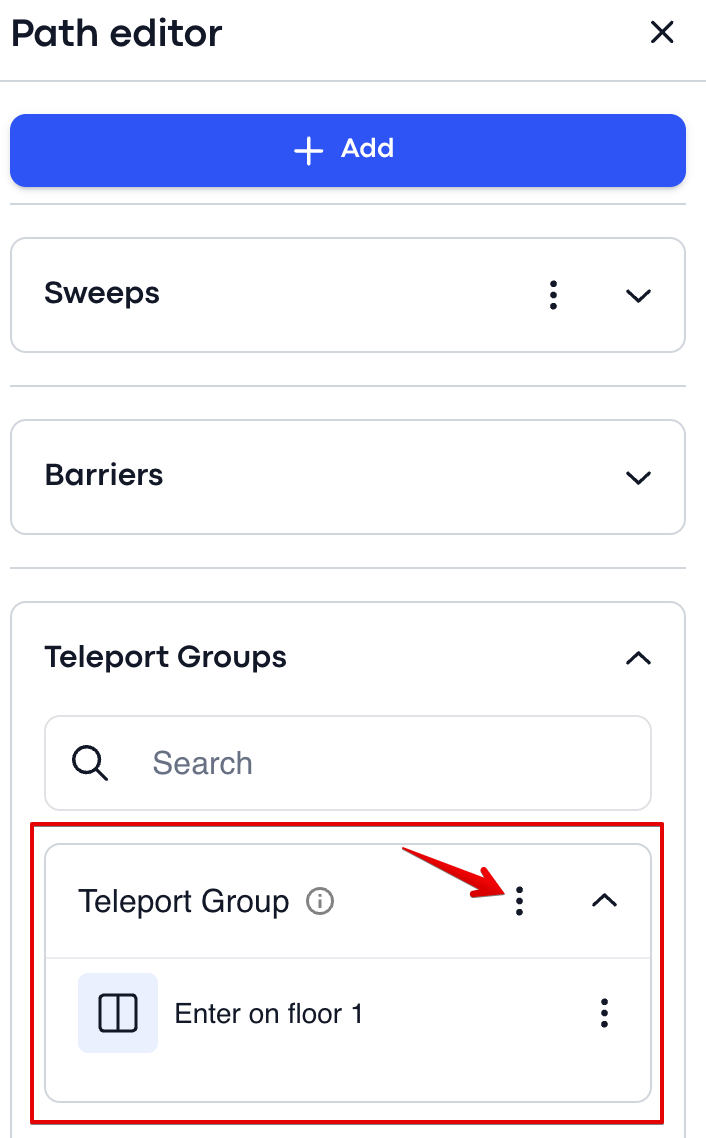
Repeat the process on each floor the same elevator/stairway connects, always selecting the same teleport group.
The Navigation Menu
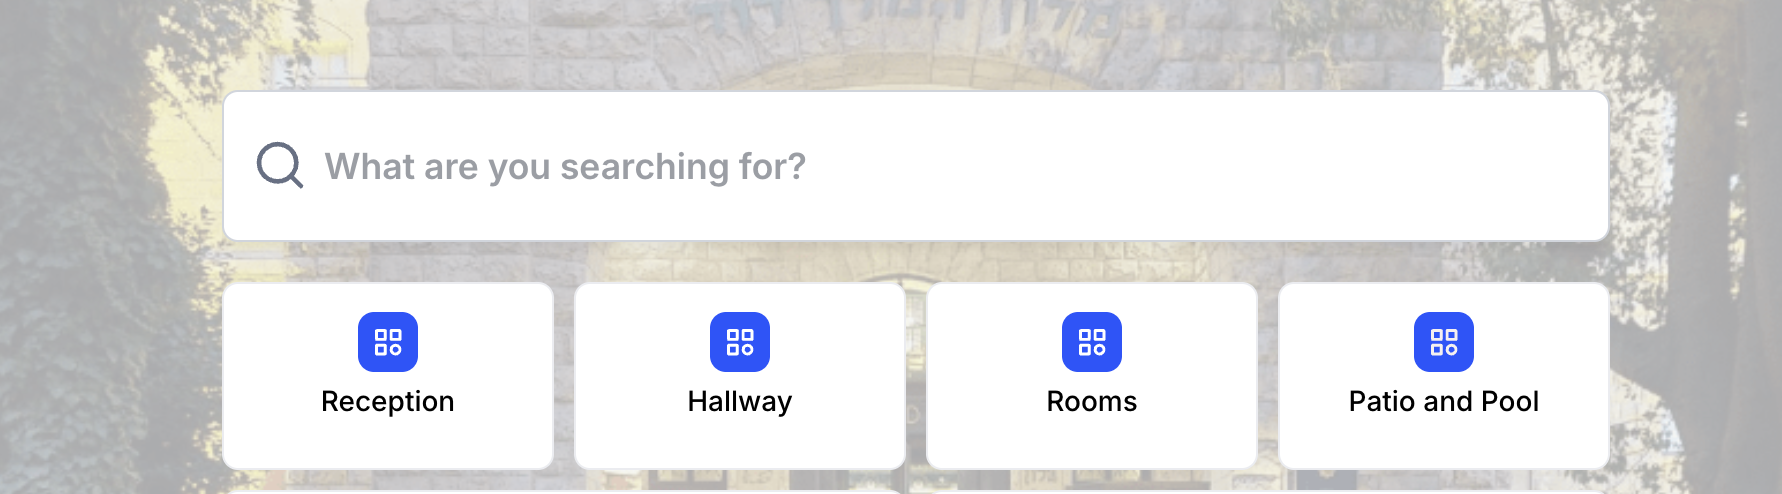
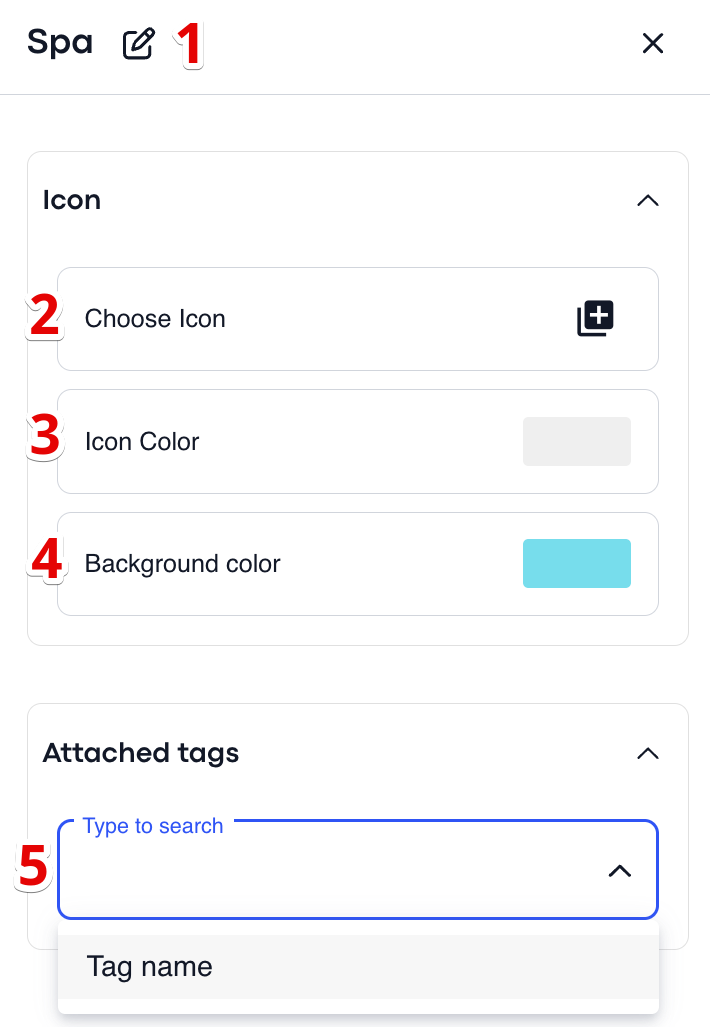
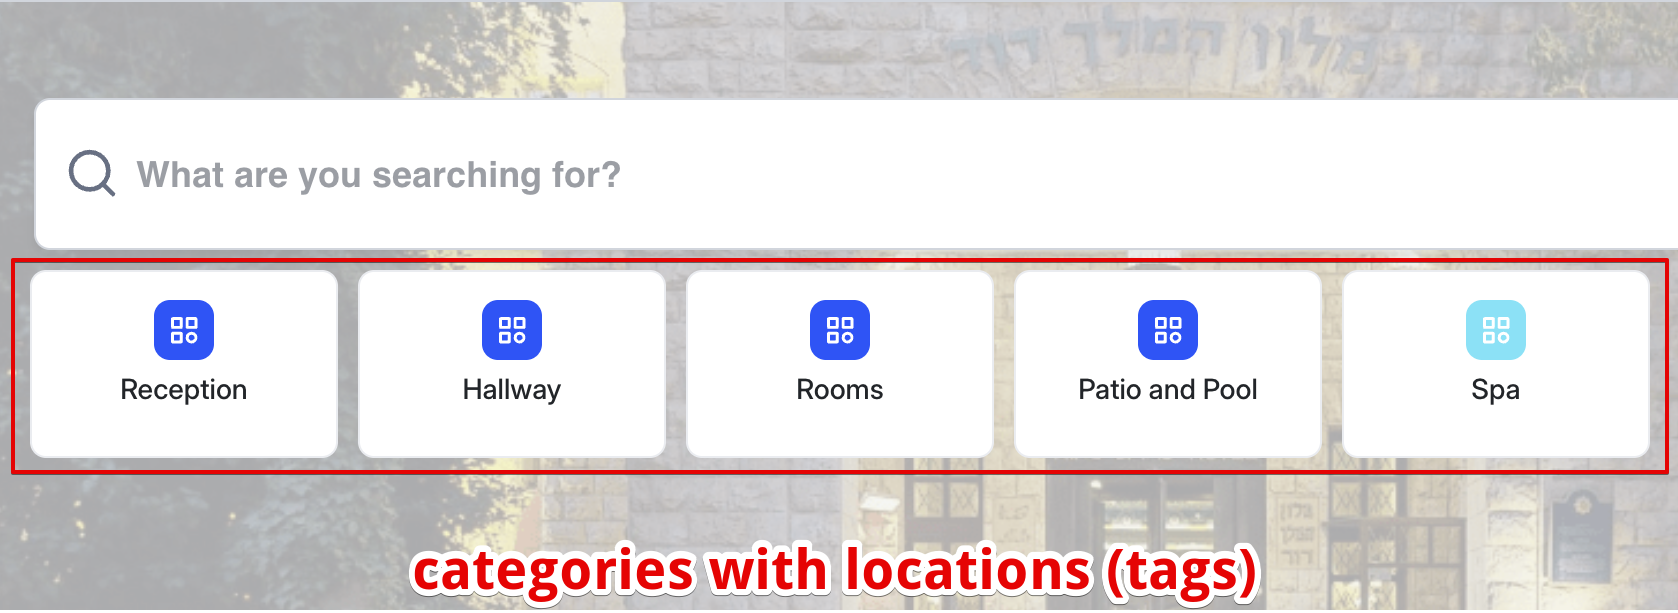
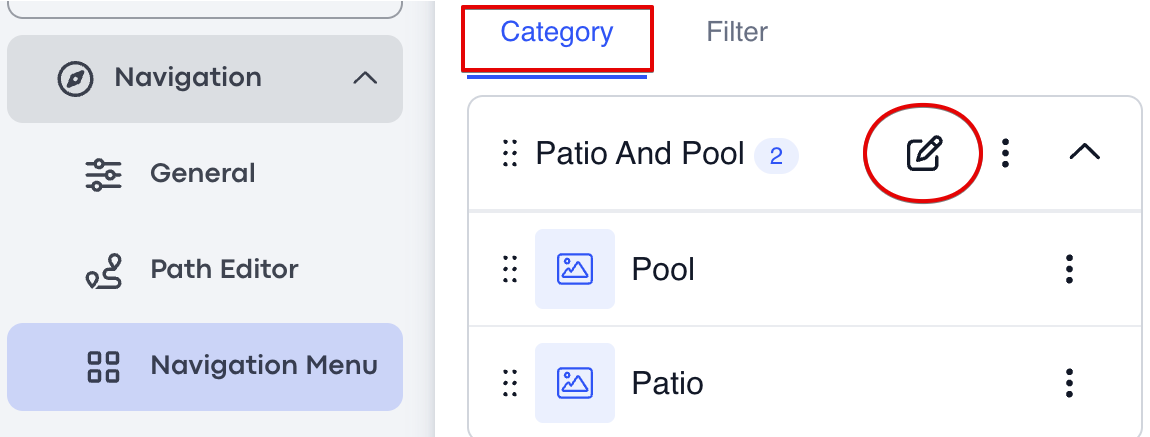
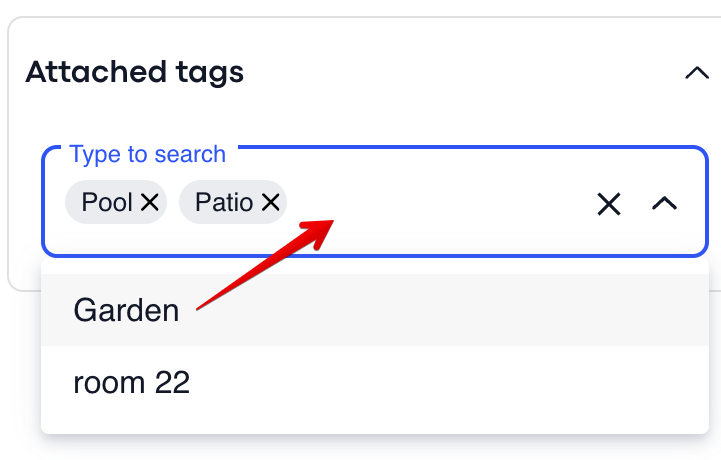
The Navigation Menu is what visitors actually see and interact with. It groups destinations (called menu items, each backed by a tag) into categories that match how visitors think about your space — "Departments", "Exhibitions", "Restrooms", etc.
Menu Items
A menu item is a destination. It points to a tag in the tour and shows up in the menu with a name, an optional thumbnail, and an optional preview media (image or video).
Creating a navigation destination
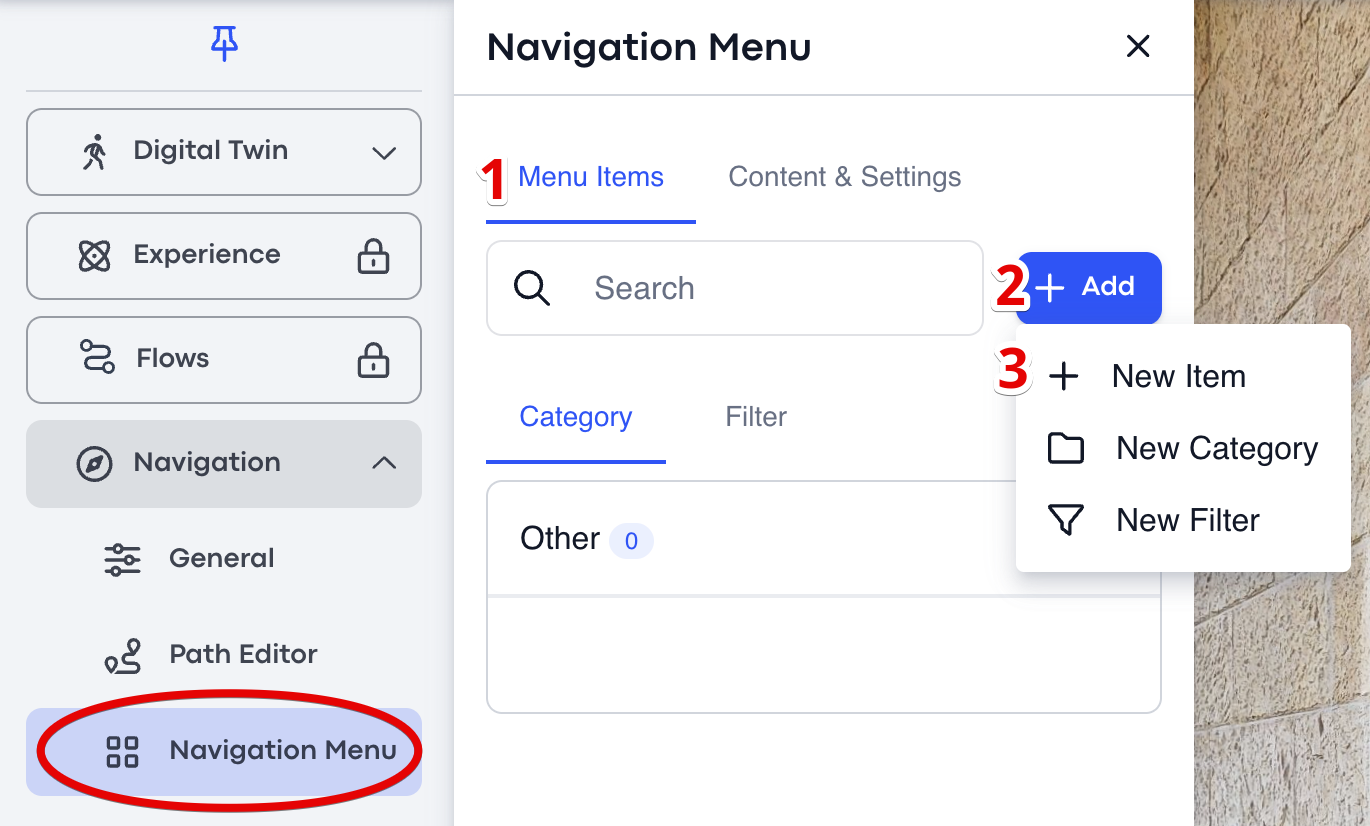
In the Navigation Tool sidebar, open Menu Items.
Click + Add and choose New Item.
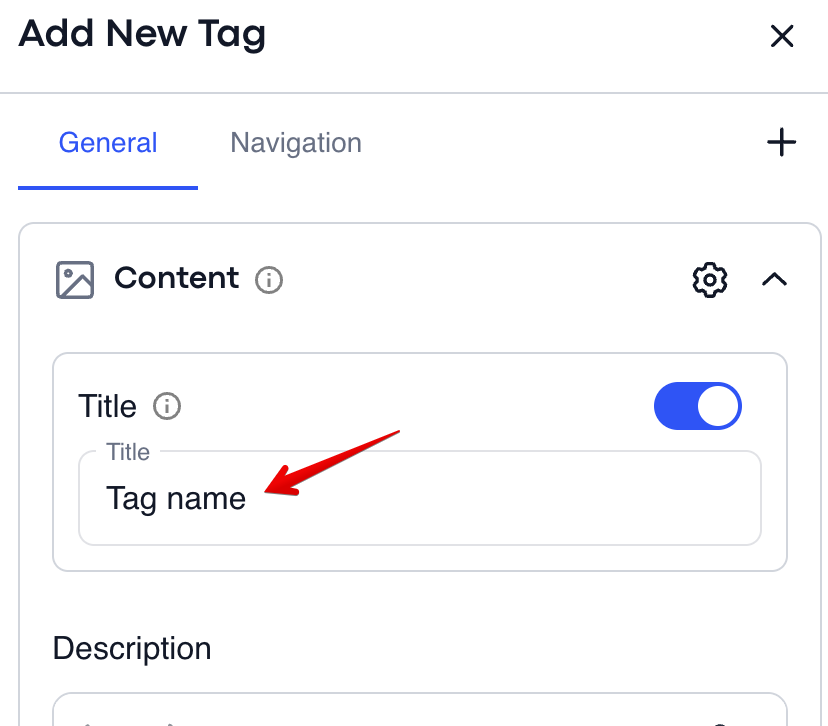
Give the destination a clear name. Optionally upload a thumbnail and / or a preview image or video that visitors will see before they confirm the route.
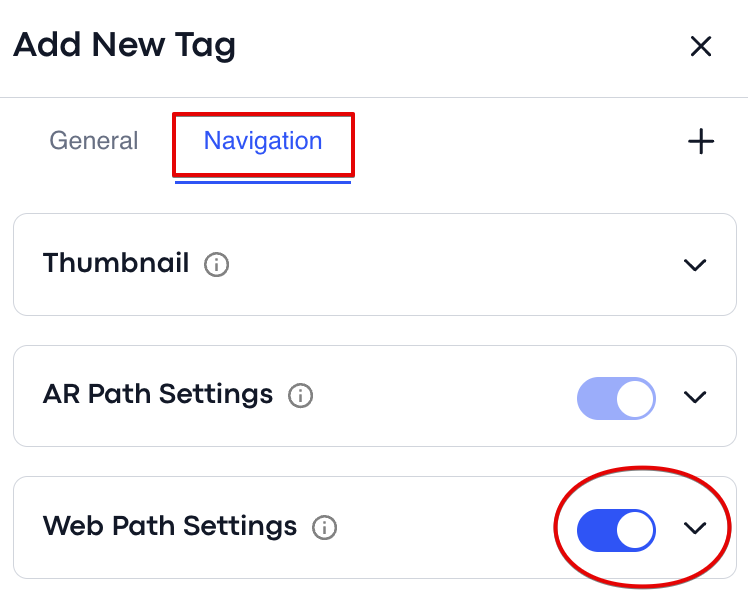
Toggle which navigation modes this destination should appear in. Most destinations are enabled for both.
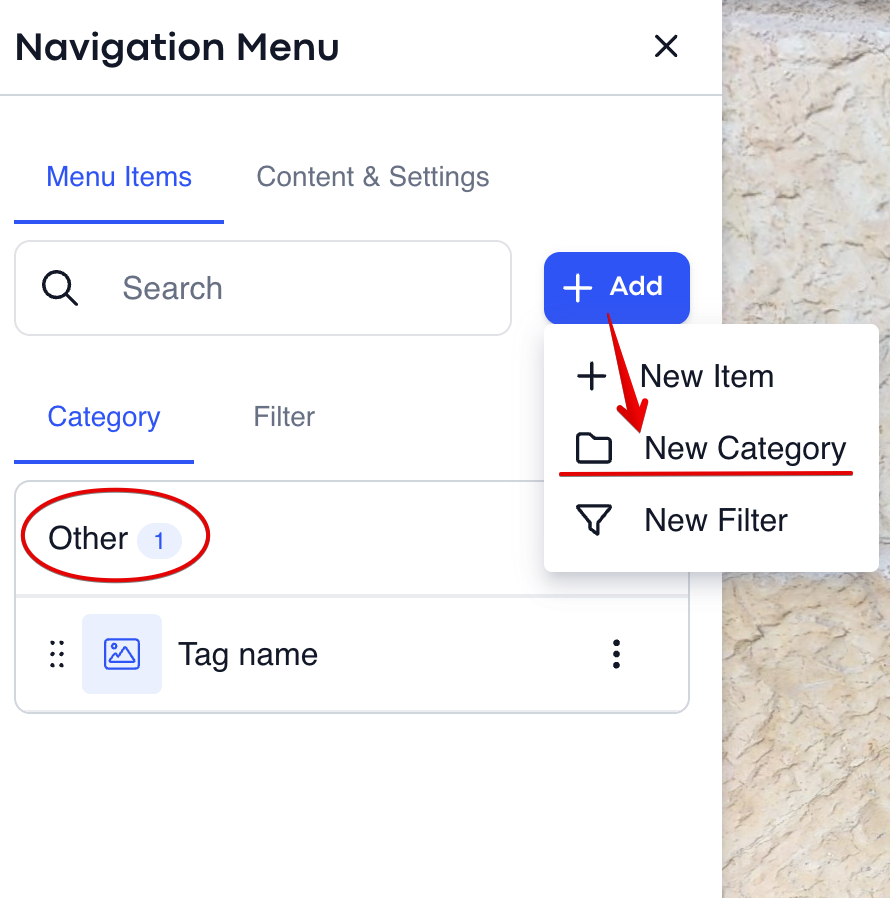
Choose an existing category or create a new one. If you don't pick anything, the item lands under Other.
Want a flat menu instead of categories? Put every destination under the default Other category and the menu renders as a single list — no category headings. The same trick is covered in the FAQ.
Content & Settings
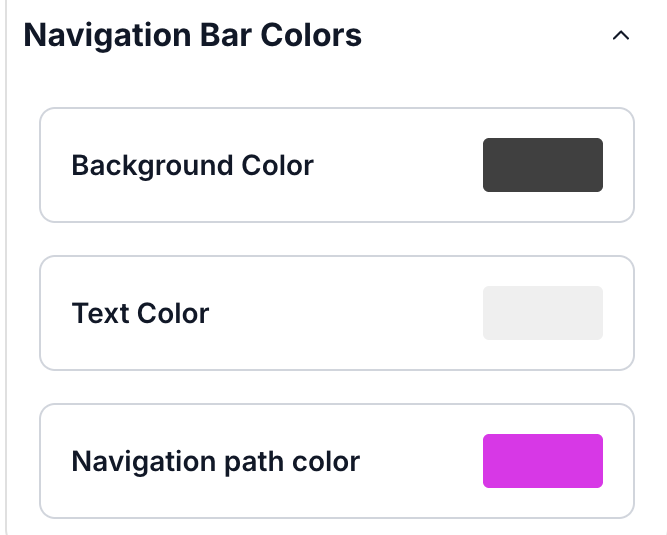
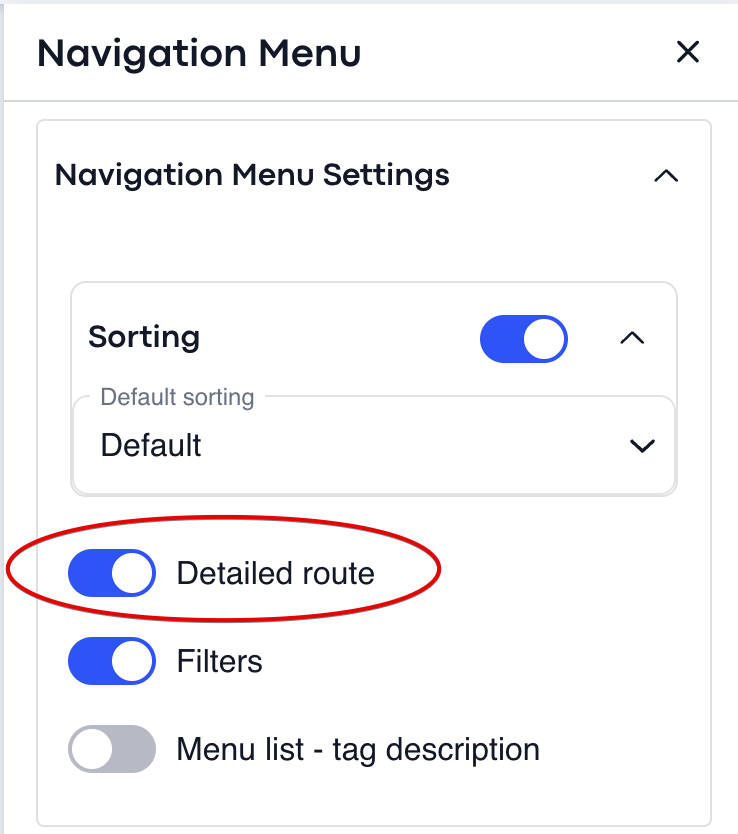
The Content & Settings panel controls how the menu, the path, and the post-arrival experience look and behave.
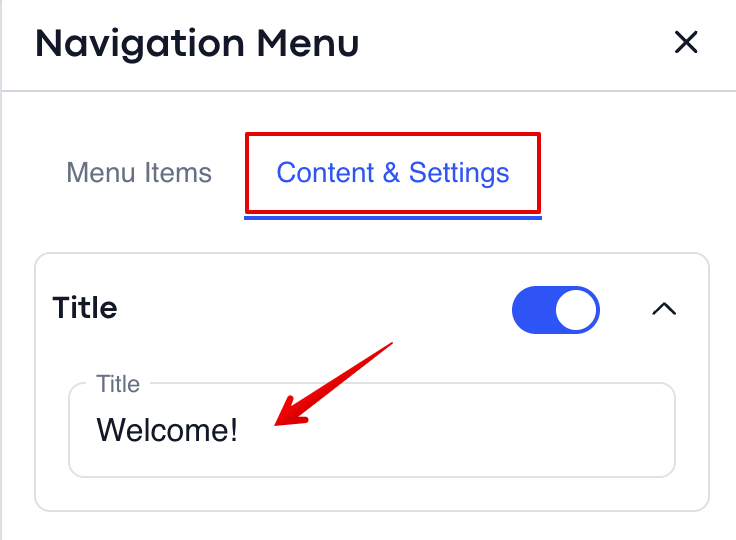
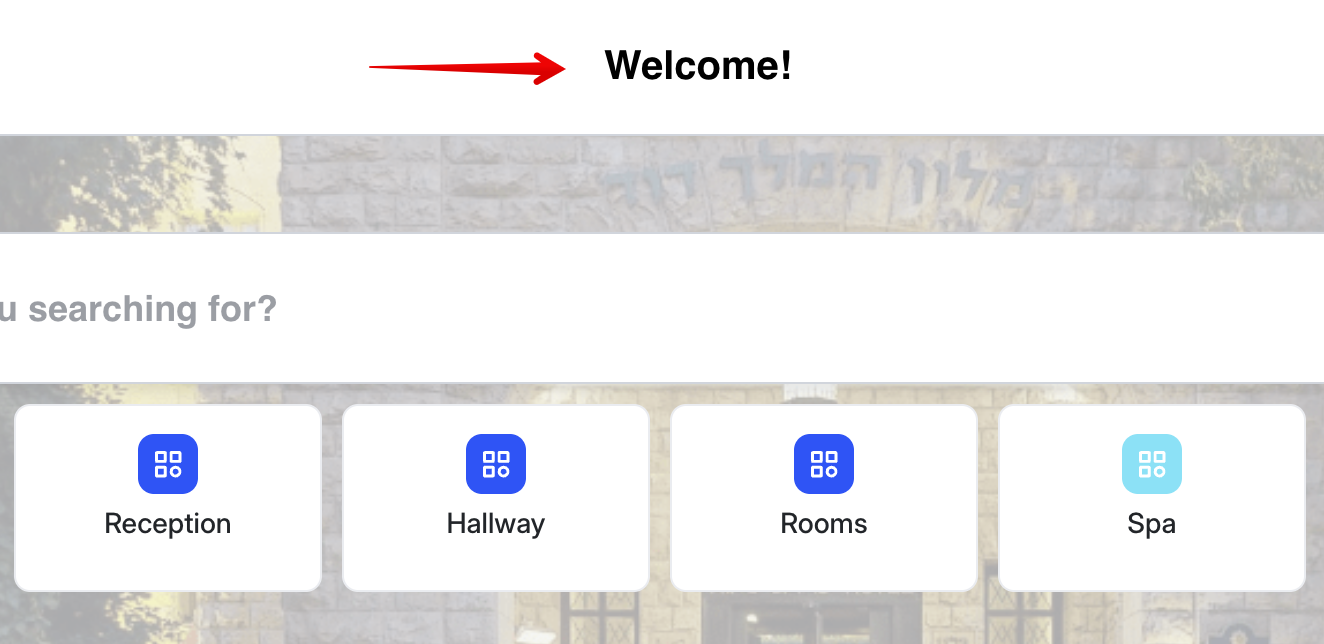
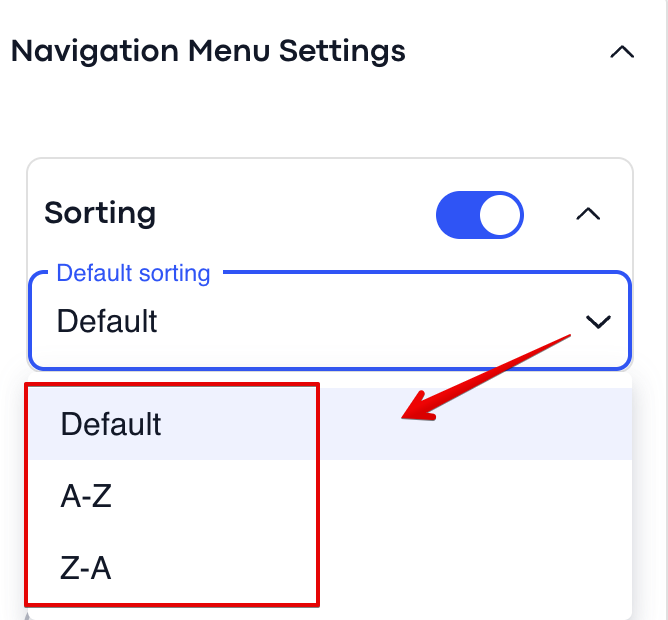
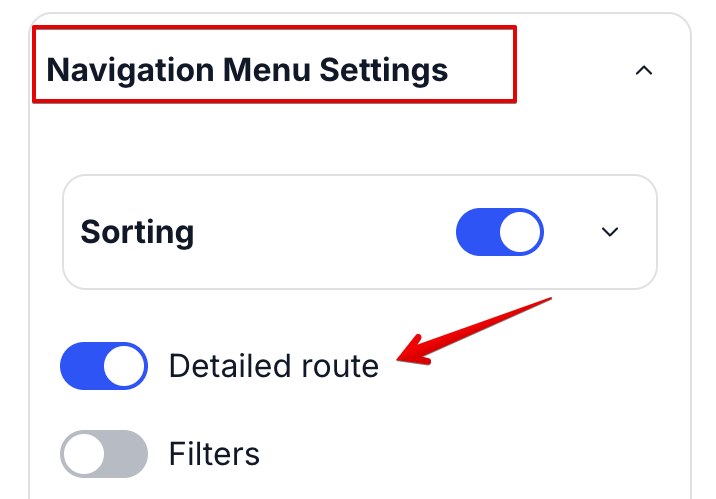
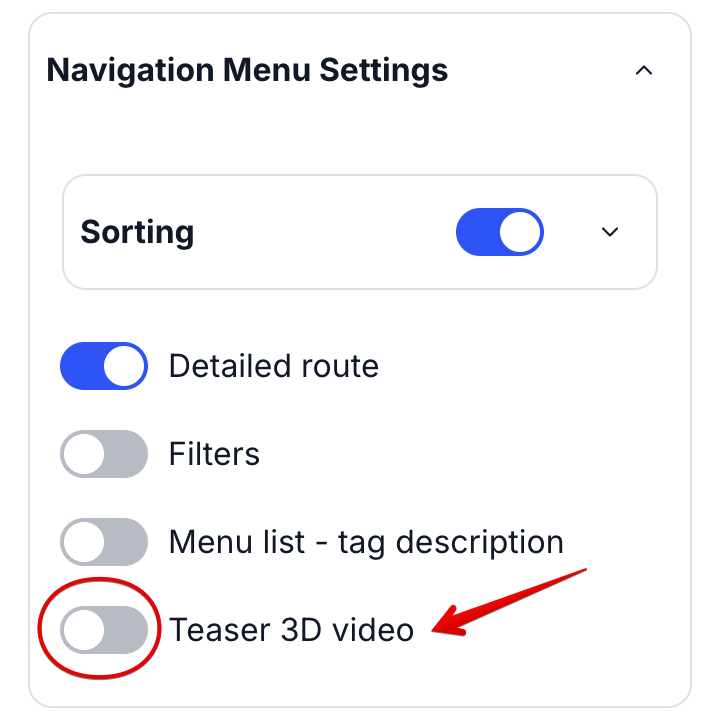
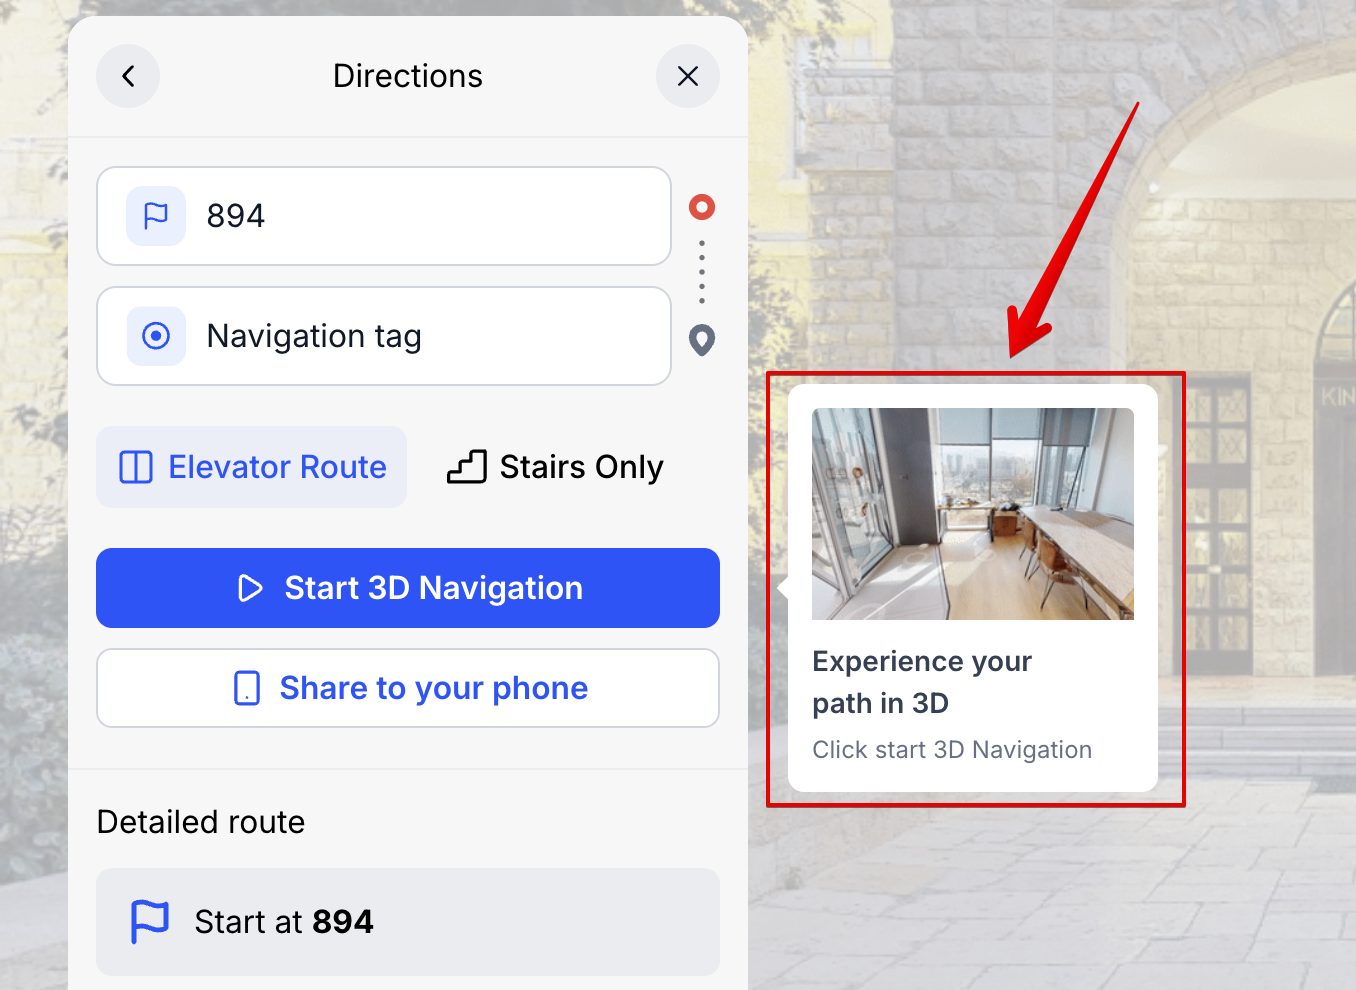
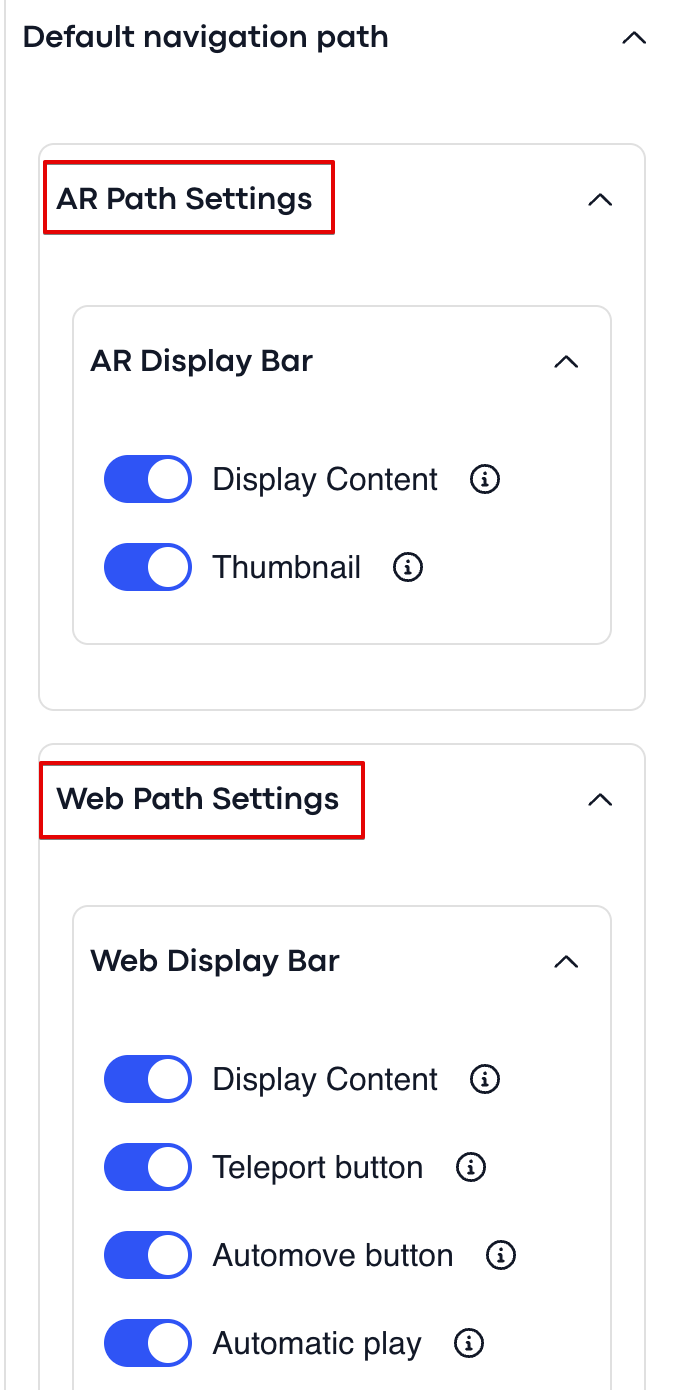
Common things you'll configure here:
- Path color and thickness — match the path to your brand or a specific category color.
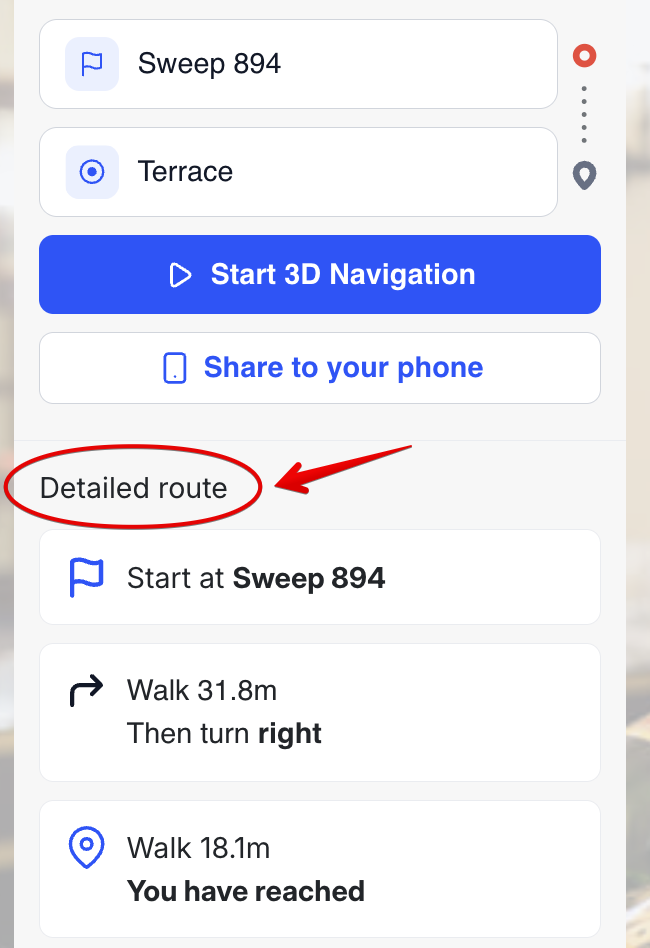
- Detailed routes — show step-by-step turn descriptions, or just the line on the floor.
- Measurement units — meters or feet, for both Web and AR.
- Teaser video — a short clip that plays while the route is being calculated.
- WEB / AR display preferences — different UI density for desktop vs phone.
How it looks inside the tour
When a visitor opens a navigation-enabled tour, the experience flows like this:
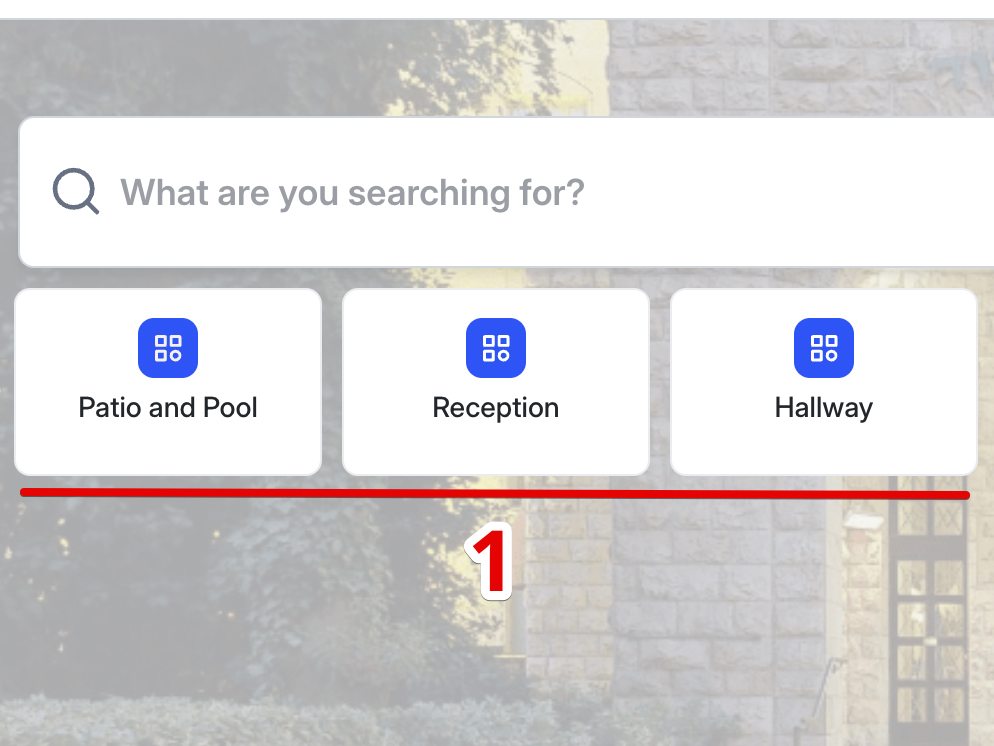
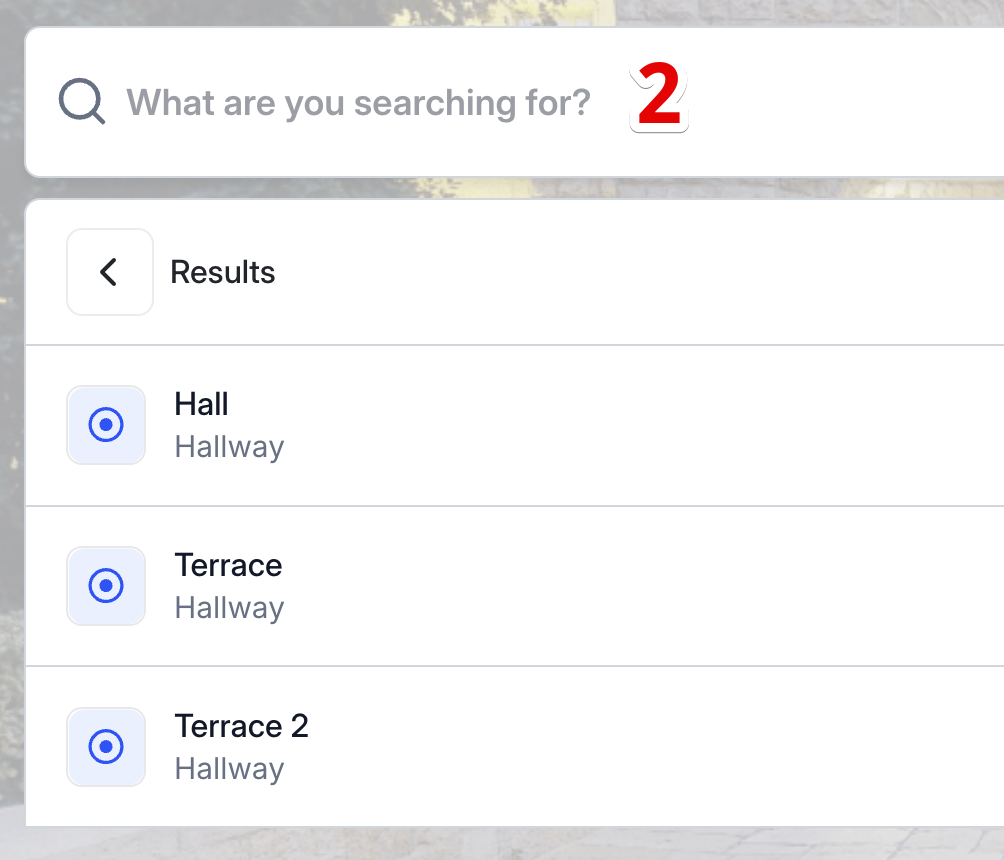
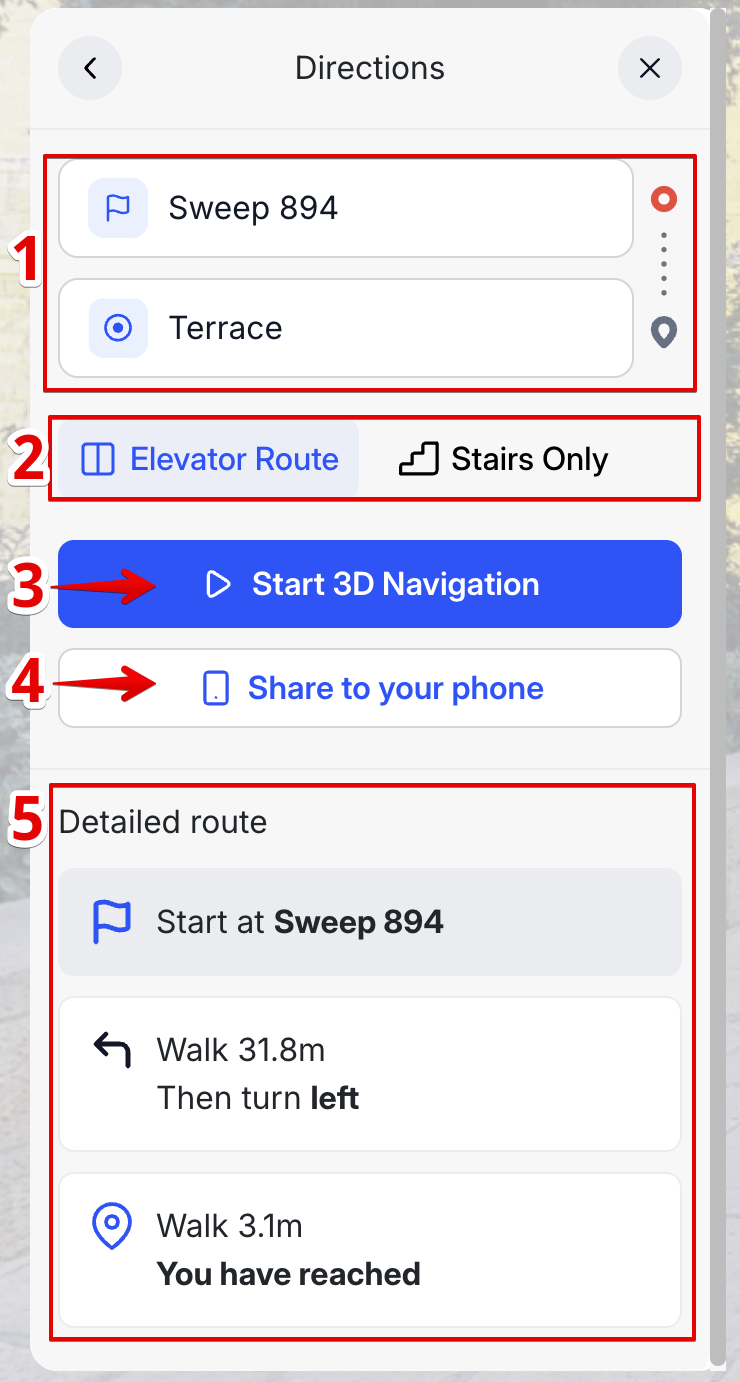
A typical flow:
- Visitor opens the menu and picks a destination.
- A preview card shows the destination, optional media, and a "Go" / "Navigate" button.
- The path is drawn from the starting point to the destination.
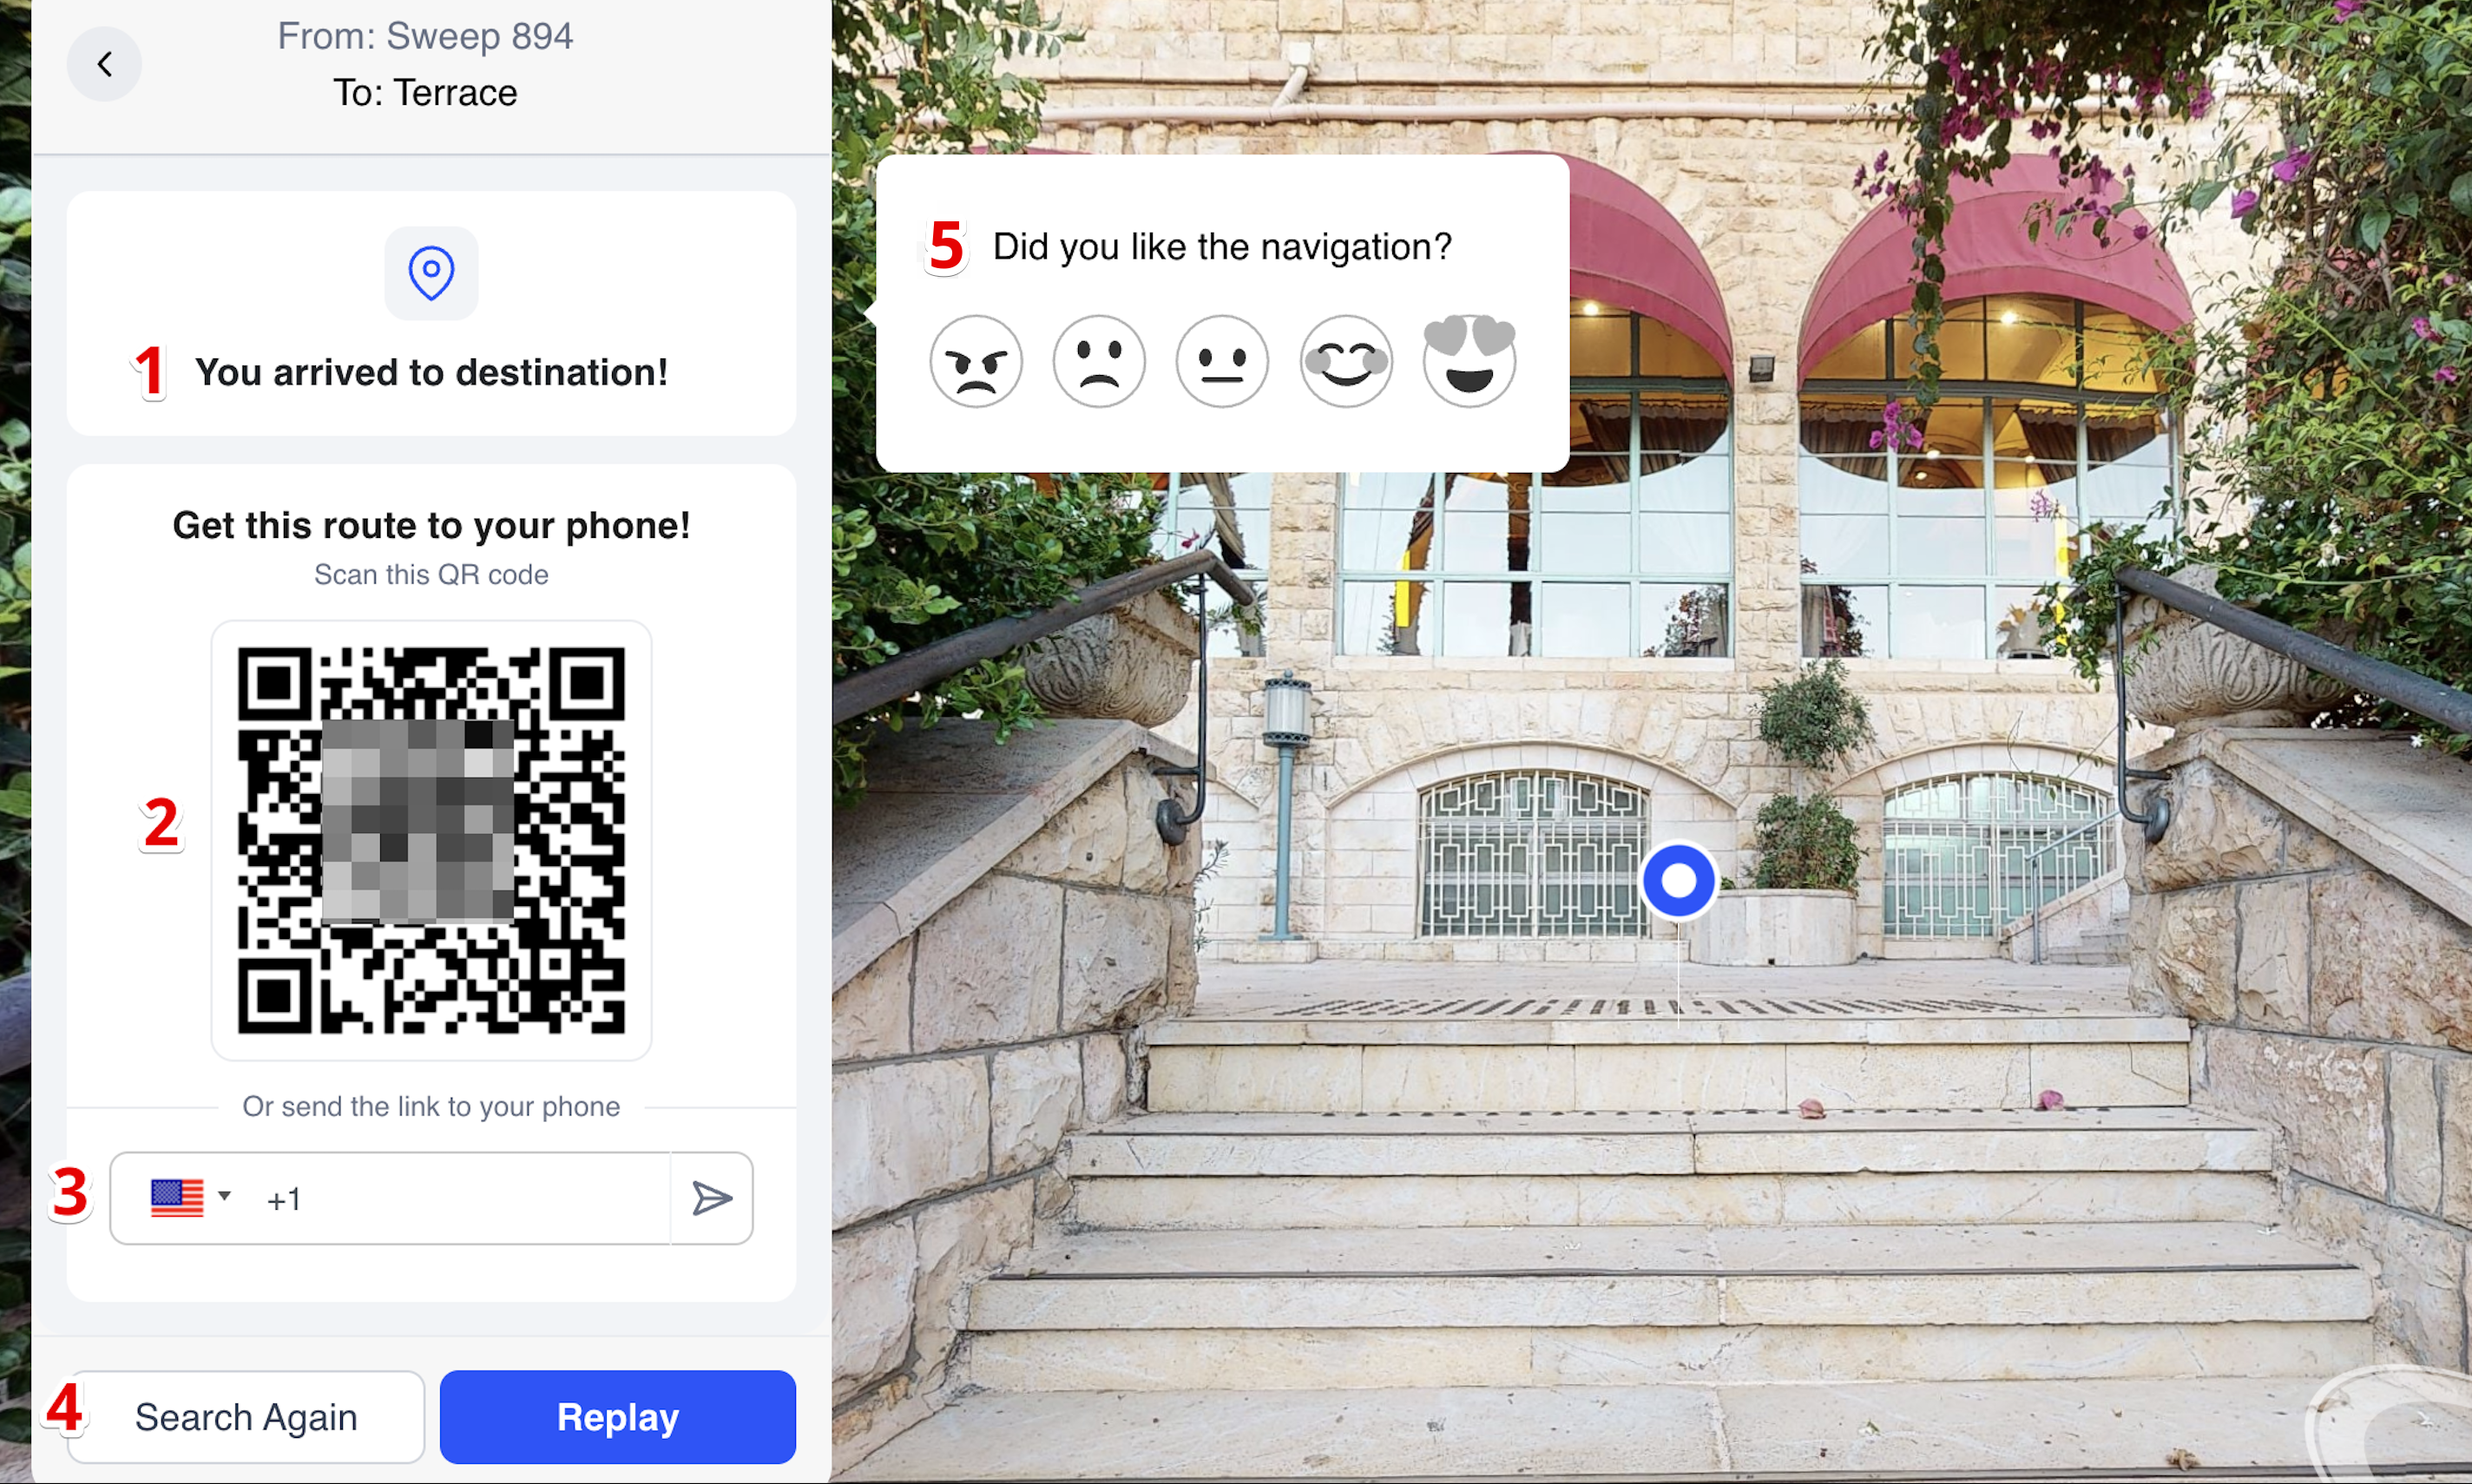
- On arrival, a sharing / rating panel appears.
After arrival — sharing and rating
Once the visitor reaches the destination, the tour can present:
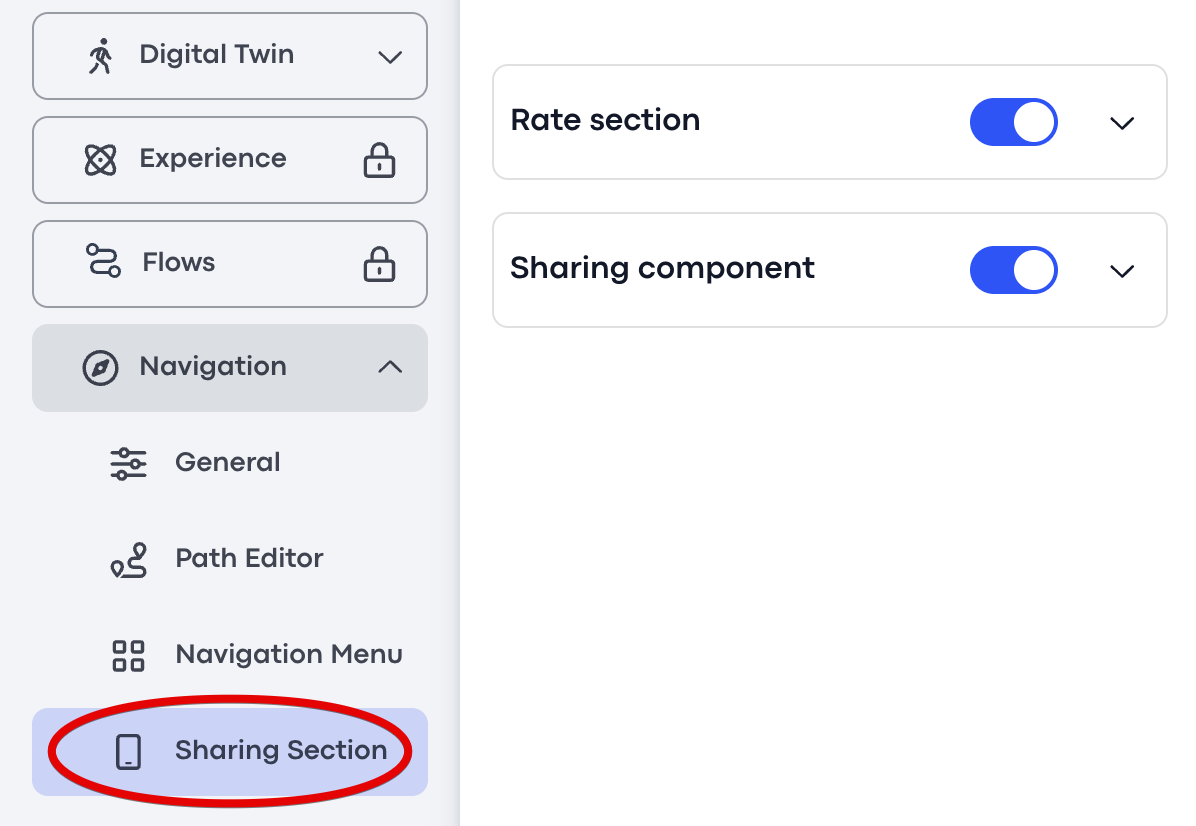
- A rating prompt so you can collect feedback on the route or the destination experience.
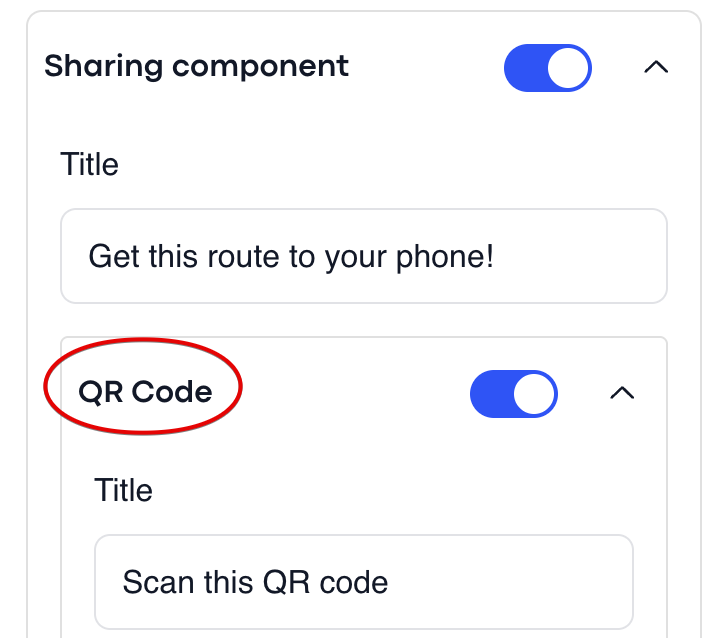
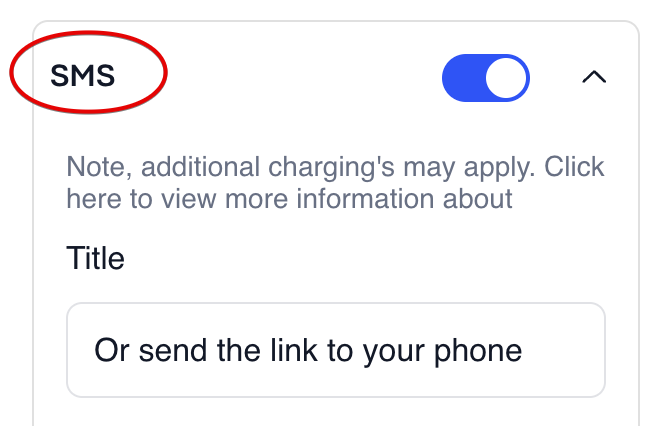
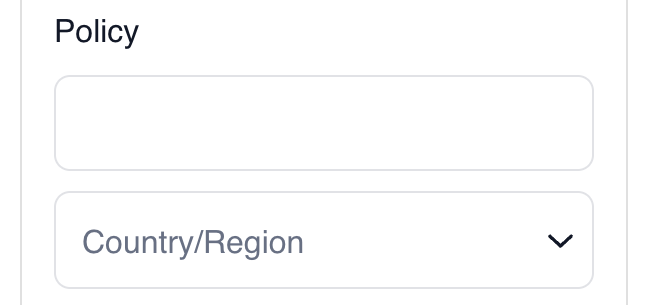
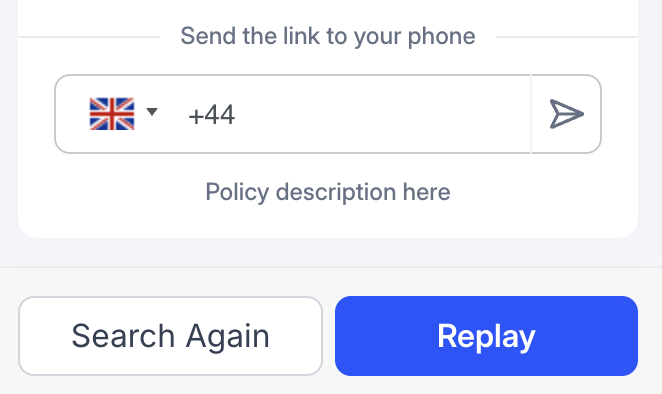
- A share panel that generates a QR code or an SMS link so the visitor can continue the same route on their phone — useful for kiosks where the visitor is about to leave the screen and walk the route physically.
Physical Stations (Kiosk mode)
A Physical Station turns a Treedis tour into a wayfinding kiosk. Stand it up on a tablet in a hospital lobby, a mall directory, or an event reception desk, and visitors can pick a destination right there — the tour already knows where the kiosk is, so paths start from the correct sweep automatically.
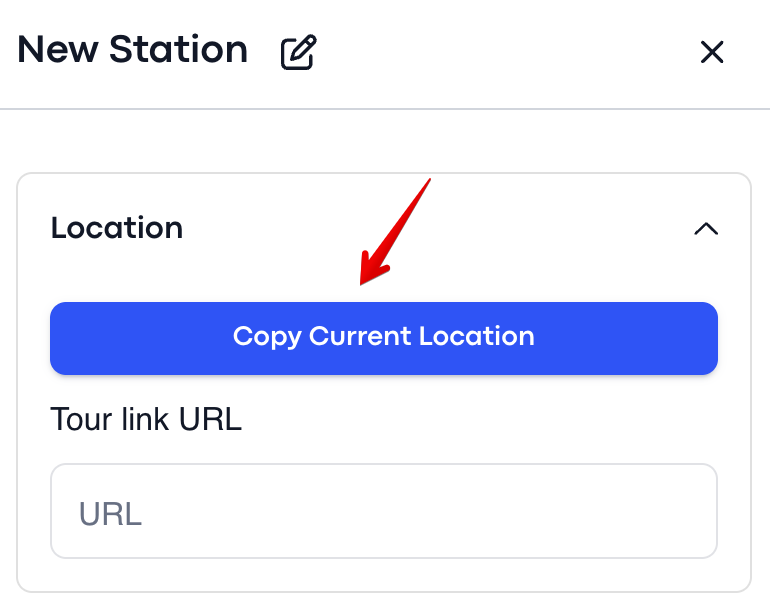
Each station has a deep link that captures the starting location. The simplest way to fill it in: navigate the tour to where the kiosk will physically sit, then copy the current location URL into the station's deep link field.
Setting up a kiosk station
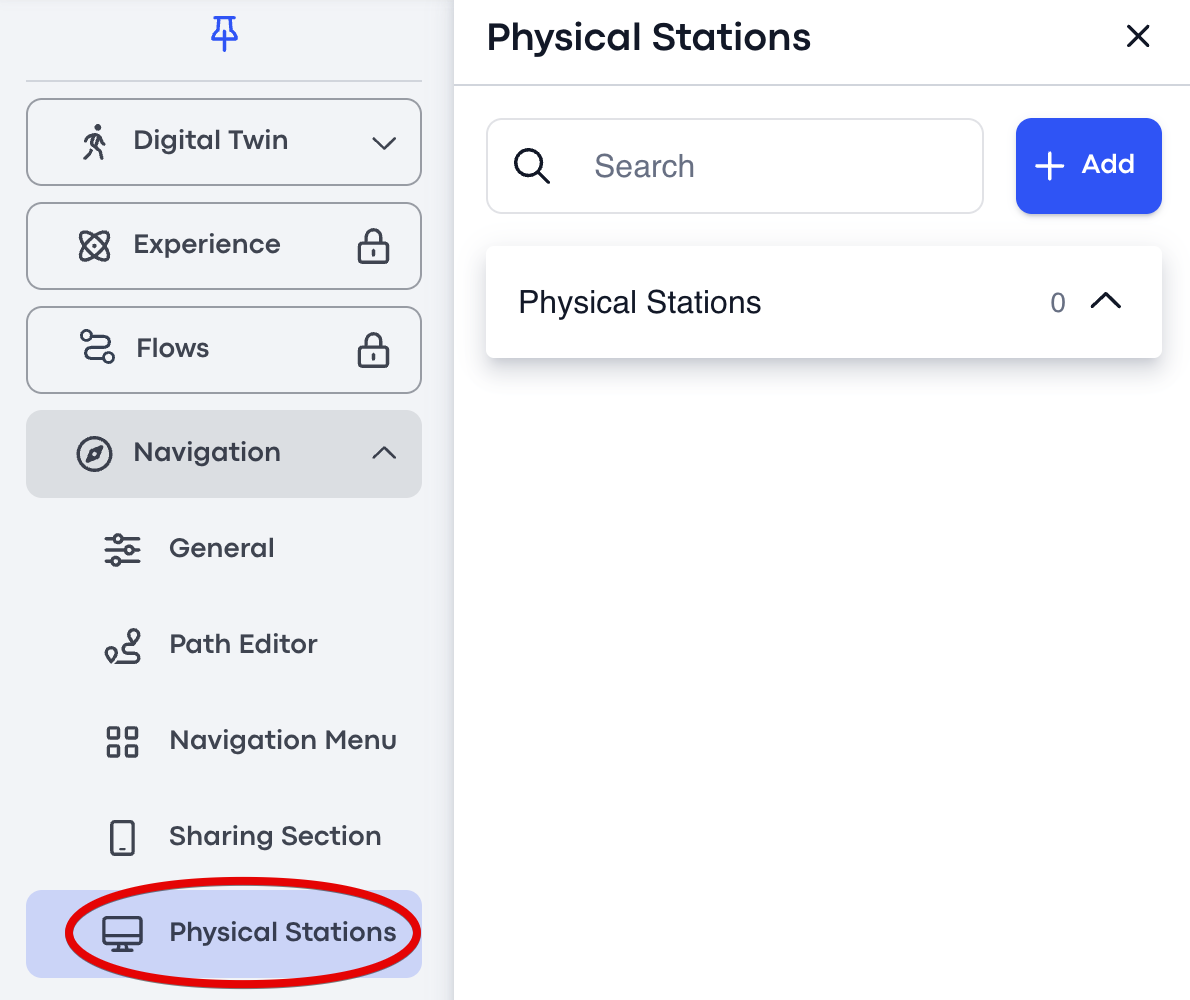
In the Navigation Tool sidebar, open Physical Stations and click + Add.
Give it a name that matches where it will physically live — "Main Lobby Kiosk", "South Entrance".
Navigate the tour to the spot where the kiosk will sit, copy the URL, and paste it into the Deep Link field. (Alternatively, click the "use current location" helper.)
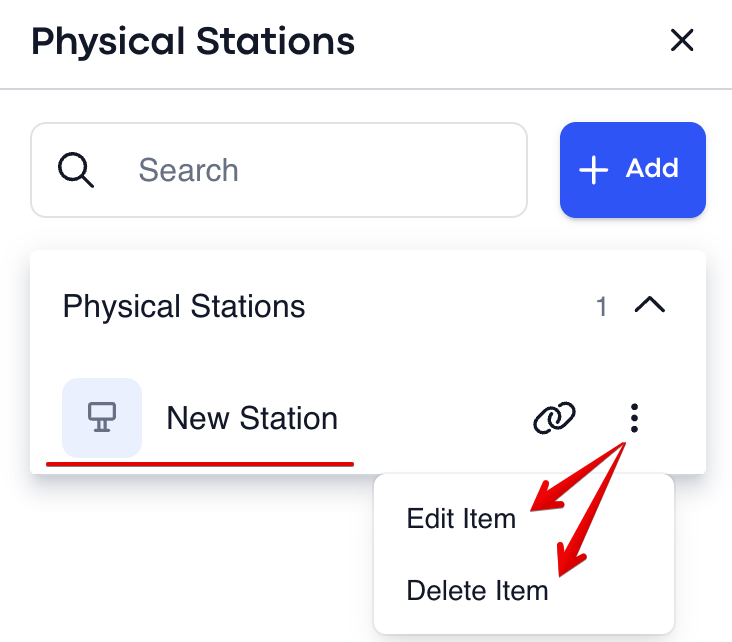
Save the station. It now has a launchable URL that can be opened on the kiosk device.
Heads up. Deep links require the AR and Flows add-ons to work end-to-end. They aren't supported in Experience or V-Commerce tours. (See the FAQ.)
Related articles
Navigation Tool — FAQ Quick answers to the most common Navigation Tool questions. Navigation Tags Set up tag-based navigation paths and deep-link shortcuts.Need help?
If a route isn't behaving the way you expect, double-check sweeps, barriers, and teleport groups in that order — that catches most issues. Still stuck? Reach out to support@treedis.com.